
 6 ›
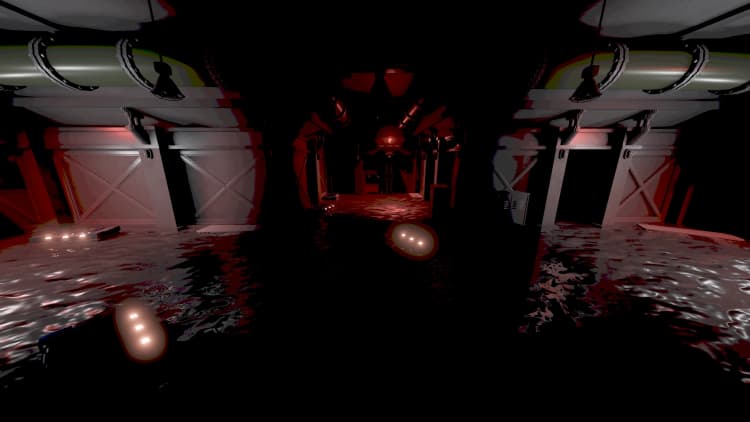
6 ›Junction room with exit door straight across from entry door and two side rooms at the end of the side hallways. The side rooms are always PSS by hiding in the corner, though interior may vary - side rooms shown here are examples. SS at the end of the corridors and behind the pillars, whether PSS or not requires testing. If room is locked, Bottomfeeder will despawn here, as will it in any locked room without raised platforms.
 6 ›
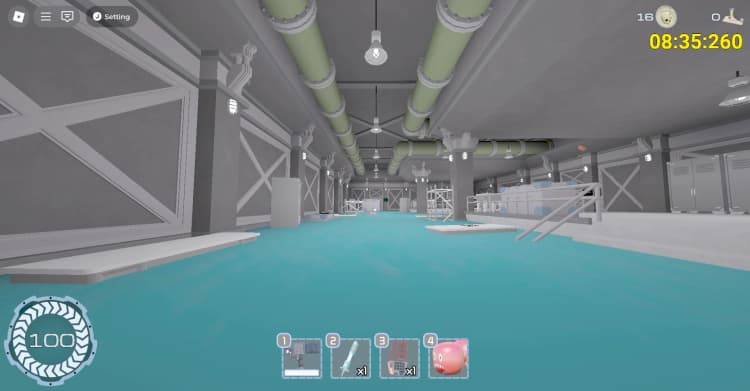
6 ›3 way room. PSS are at 5th screenshot behind the box (crouch and look down) or behind big shelf at 6th screenshot depending on which door is right.
 7 ›
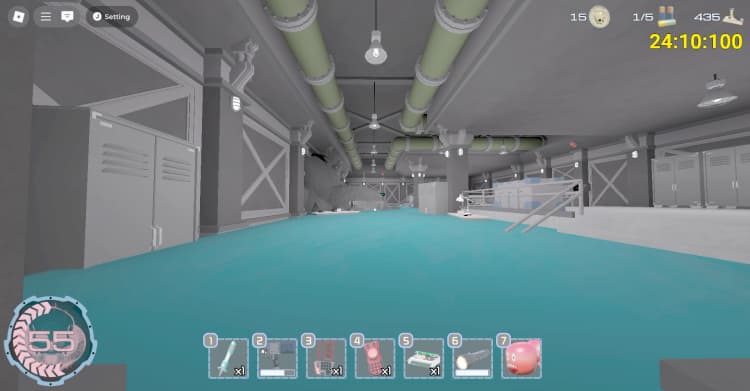
7 ›3 way room. PSS are at 3rd screenshot or at 7th behind the box depending on which door is right.
 5 ›
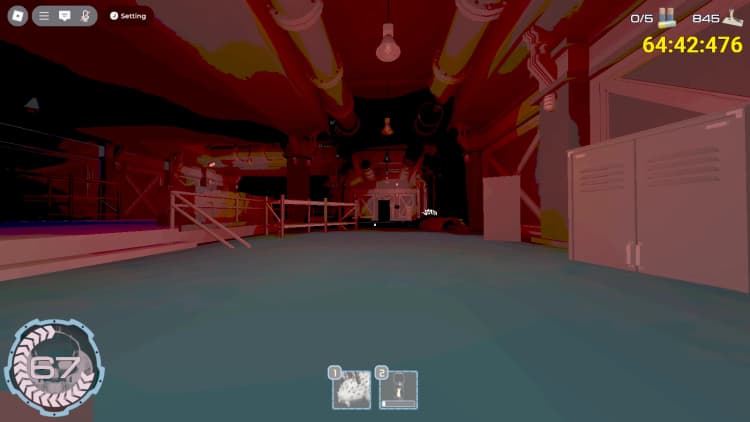
5 ›A 3-way intersection room in The Dredge roomtype. There is a Safe Spot/Pandemonium Safe Spot by hiding near a crate, crouching, and looking down. (See image 4 for the crate's location, and image 5 for how it should like)
 6 ›
6 ›Junction room with doors to the left and straight. There are raised platforms to avoid Bottomfeeder. If node path is straight, staying against back wall on platforms is SS, hugging locker/shelf (images 3 & 5), or crouching behind crates (image 2) or rubble pile closer to left door (image 5) is PSS. If node path goes left, PSS behind rubble pile closer to straight door.
 5 ›
5 ›A 3-way room in the dredge roomtype. For SS - get upstairs and stay in corners. Depending on the right door, multiple PSS above water: Boxes, lockers, shelves. Just make sure you can't be seen from the main path. There are also spots in the water, but be wary of bottomfeeder.
 5 ›
5 ›4 way room. PSS are in areas at 4th and 5th screenshots.
 5 ›
5 ›4 way room. PSS are in areas at 4th and 5th screenshots.
 4 ›
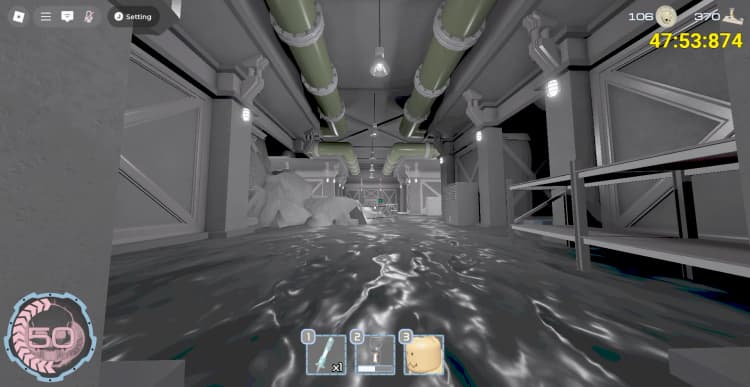
4 ›Room can be used as SS by going towards the doors out of the node path. For PSS, enter the small corridors in Image 3 + 4 and avoid seeing the node path. You can climb the rocks backwards first seen in Image 1 to avoid getting attacked by the Bottomfeeder.
 5 ›
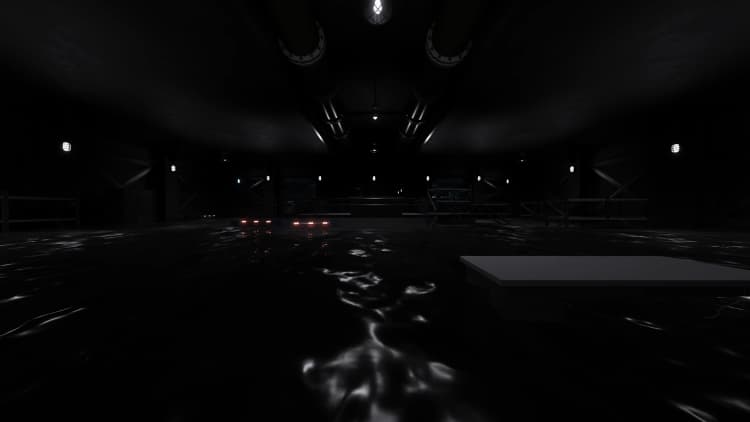
5 ›A big room that takes place at the very end of the dredge roomtype. The locker in image 4 is a PSS and SS just having to tilt your head back so you dont see the door through the window.
 4 ›
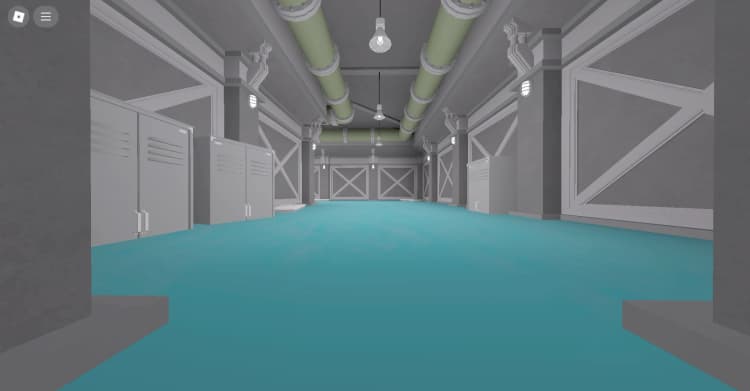
4 ›Turn to the left. PSS is behind the locker at the end of the room.
 5 ›
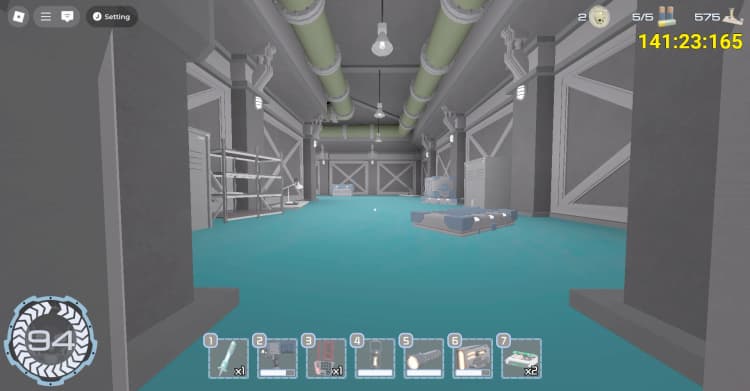
5 ›Turn to the left. PSS is behind 3 boxes (5th screenshot).
 4 ›
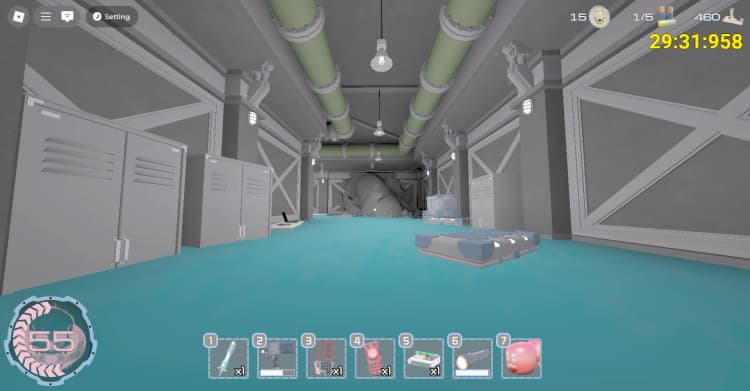
4 ›Turn to the left. PSS is at 4th screenshot.
 6 ›
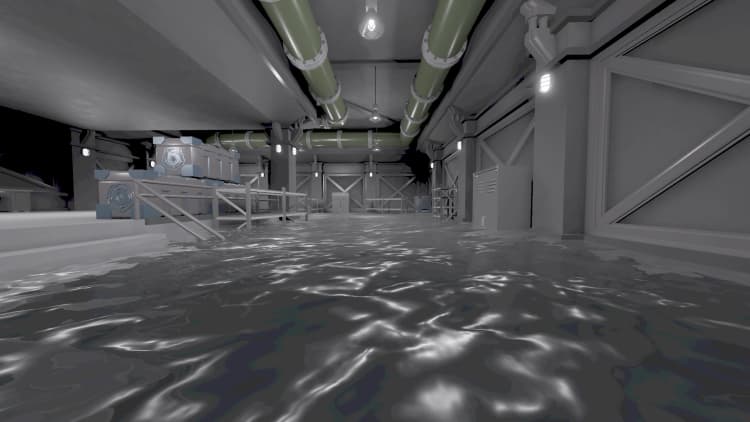
6 ›An L-shaped room with an elevated extension in its' bottom left quadrant. // SS: Furthest corner on bottom left quadrant. // PSS: Furthest corner of top right quadrant, behind shelf. Is also safe from fish's reach.
 5 ›
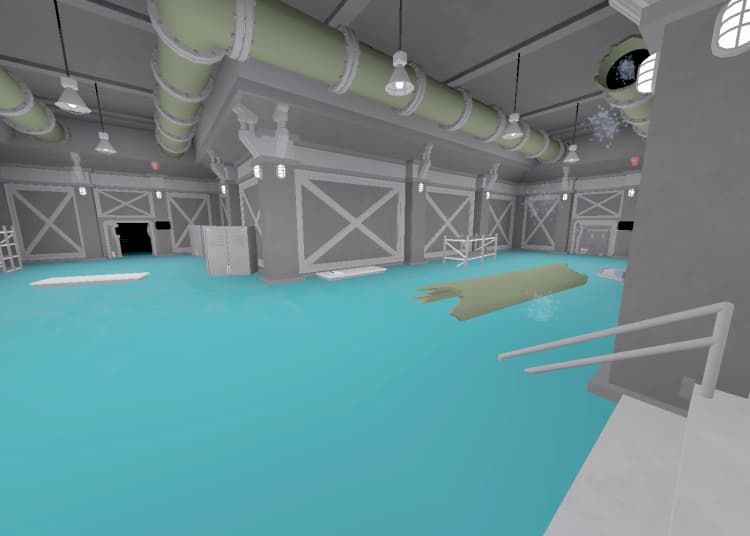
5 ›PSS if you go up the stairs behind the shelf. You can just stand behind as shown in the picture.
 6 ›
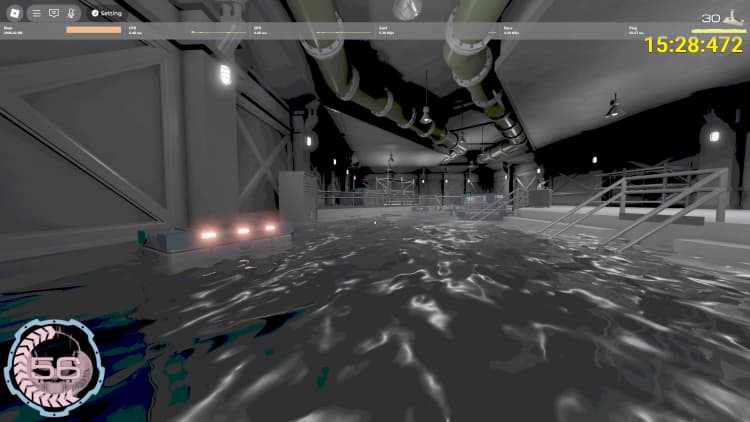
6 ›A zig-zag hall with upper sideparts on the bottom right and top left corner. // SS: Any deep upper part corner.
 5 ›
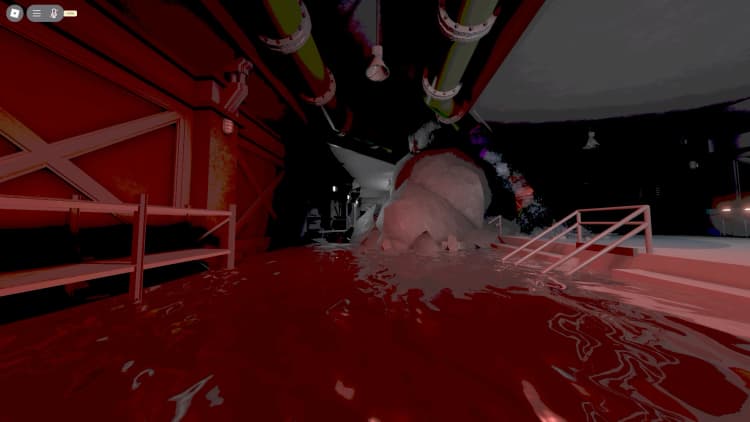
5 ›A ZigZag that goes to the right. Has broken rocks at the middle. For SS - go into corners of upstairs area. For PSS - get behind boxes at the end of the room(image 4 and 5).
 5 ›
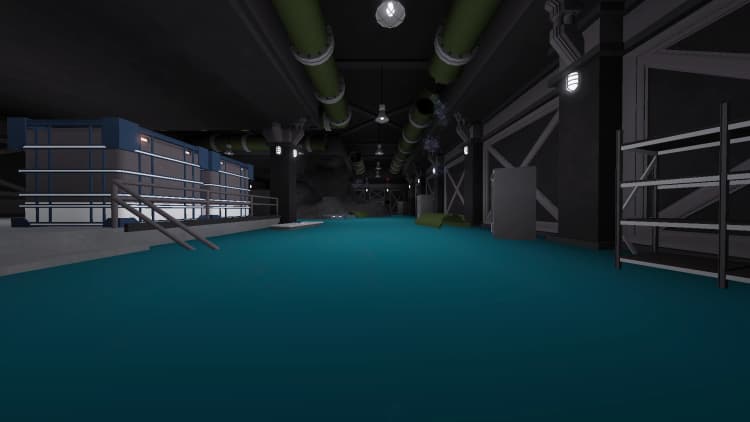
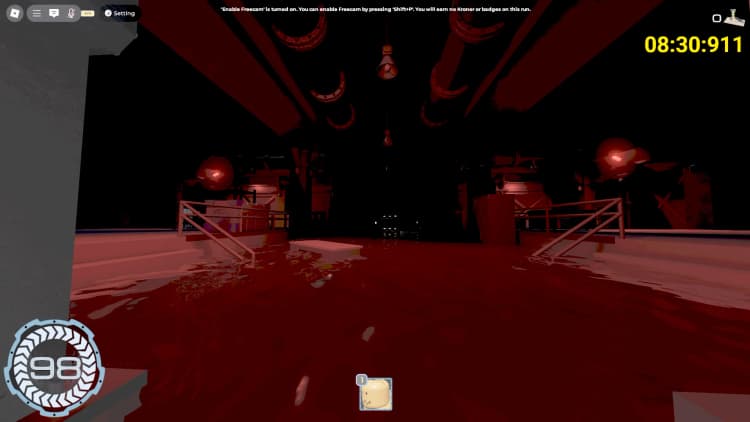
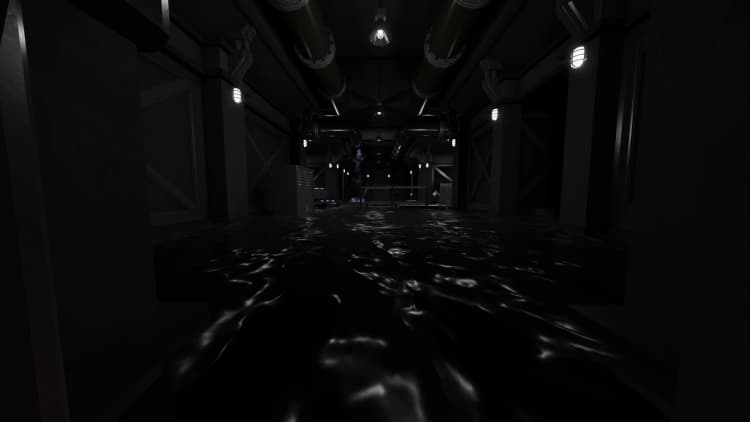
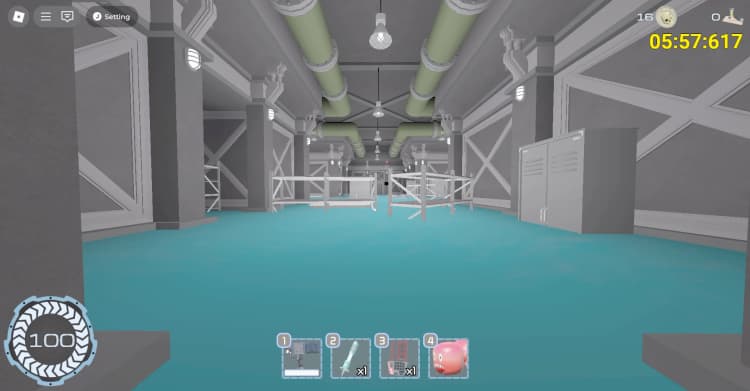
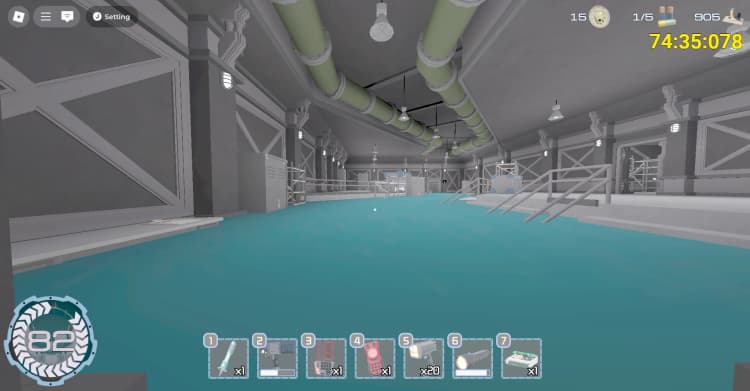
5 ›Long straight room. Always locked, 1 keycard. PSS are in siderooms.
 4 ›
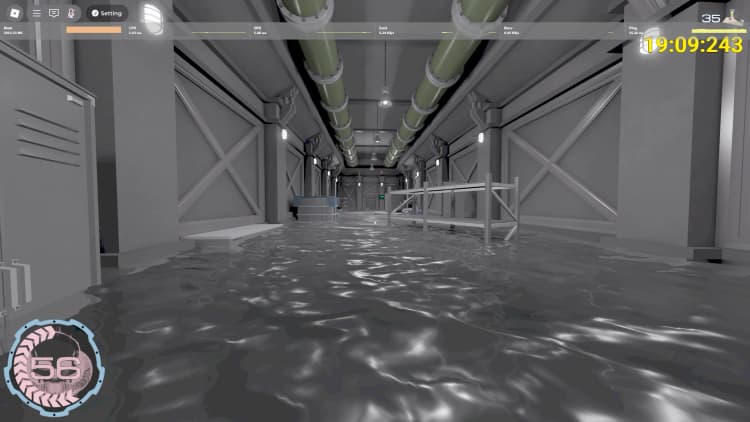
4 ›The first varianted long straight hall.
 4 ›
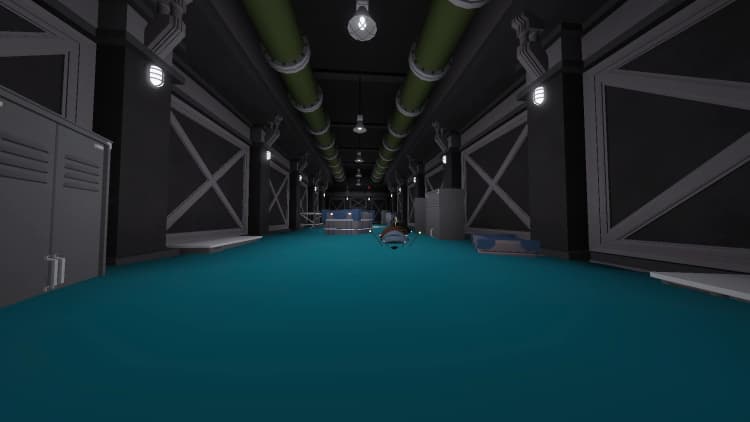
4 ›Long straight room, no PSS/SS.
 4 ›
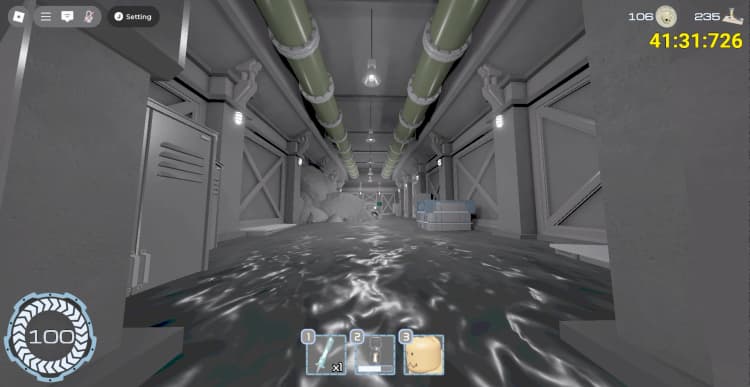
4 ›Room has PSS at the end of the room behind left locker at 4th screenshot. The rocks shown in Image 1 upon entry can be climbed to avoid getting attacked by the Bottomfeeder.
 4 ›
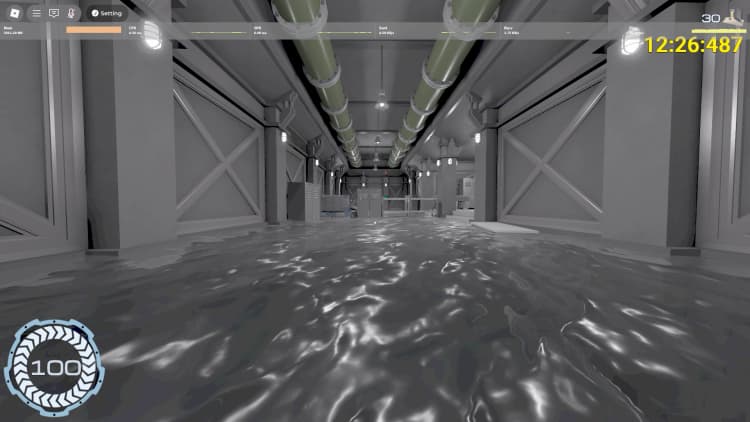
4 ›A long straight hall with an upper side part on the right. // PSS: Behind the furthest locker on the right, depending on position.
 4 ›
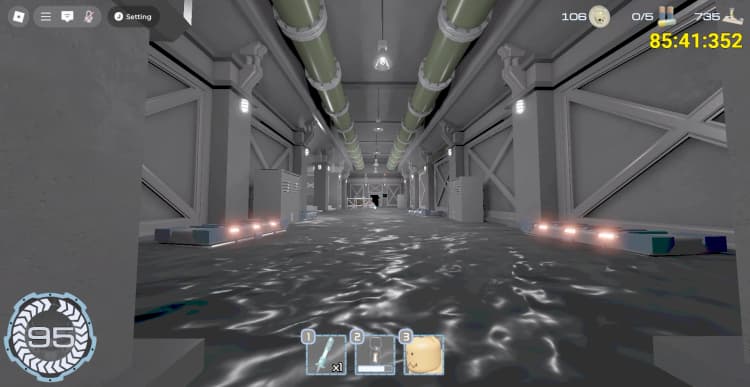
4 ›Room can be used as SS by going onto the ledge and hugging the backwall from the node path. This same ledge can also be used to avoid getting attacked by the Bottomfeeder. There is a PSS shown in Image 3 beside the big shelf, but requires small body width to get into. Eyefestation can also spawn in the top right of Image 1 upon entry.
 5 ›
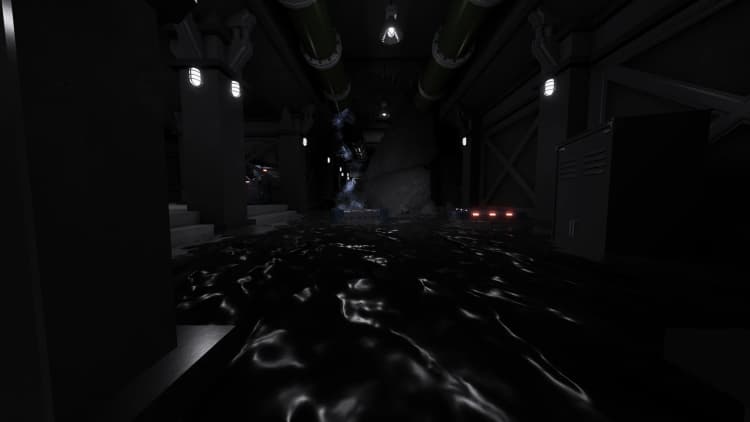
5 ›PSS in the middle and at end (Both Work 100% of times. Dredge Room that makes you walk in water and for a small part go out of the water.