
 4 ›
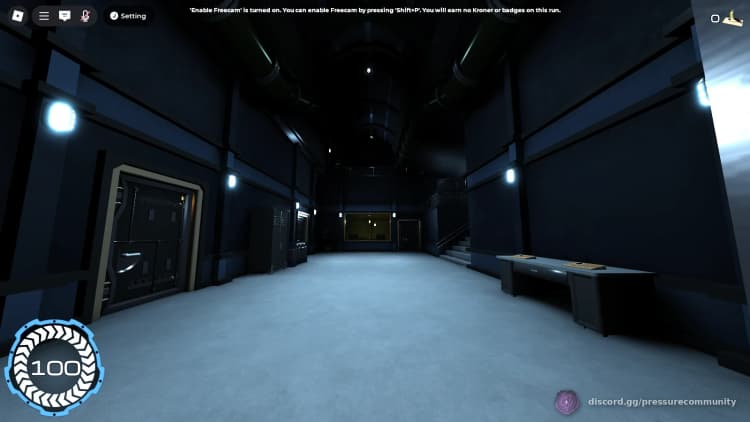
4 ›A room consisting of 3 side rooms —two smaller side rooms and a big one with a window— and two floors accesible by 2 groups of stairs. Hiding inside one of the smaller side rooms is PSS, while the bigger is one is simply SS, as Pandemonium can see you from the window. Do note that the layout of the smaller side rooms could be randomly generated.
 8 ›
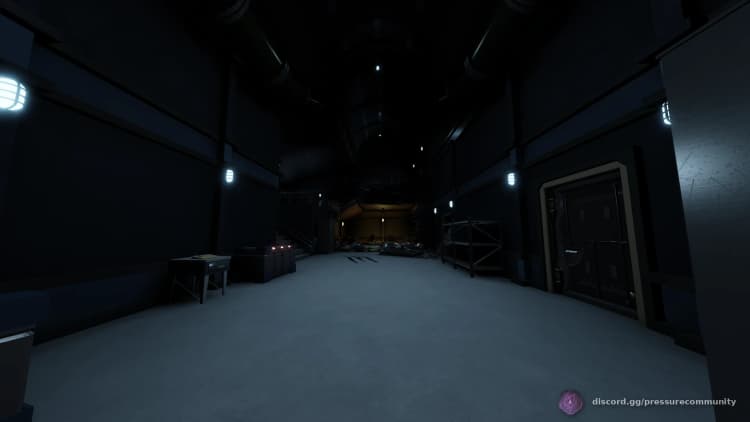
8 ›A room in the Hadal Blacksite roomtype consisting of a ground level and 2 floors which lead to the exits of the room. Regardless of the exit, there is a PSS/SS by hiding within the small sideroom at the ground level, as seen in image 5. Other spots are shown in images 4, 6, and 7. Image 4 depends on the exit being on the first floor above ground level.
 6 ›
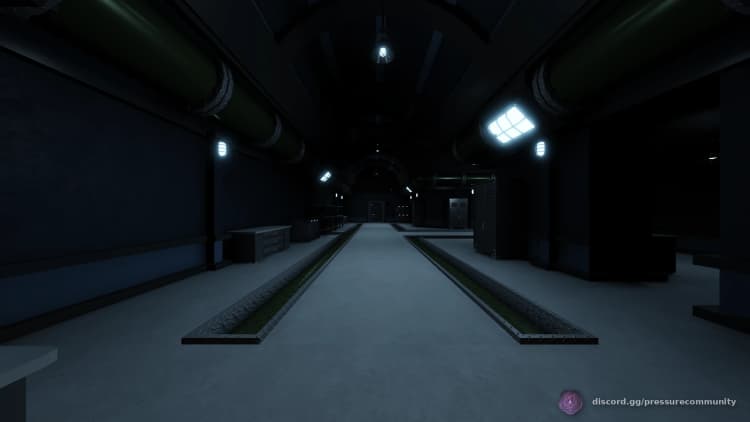
6 ›A room in the Default roomtype with a 3-way intersection and two cubbies. Hiding in either of the cubbies are PSS/SS, regardless of which door is the correct one. [Redocumentation needed for the images. Description is fine.]
 4 ›
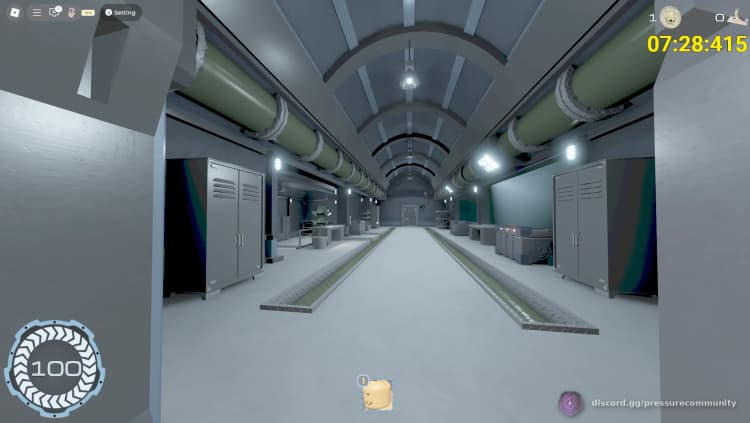
4 ›A room in the Default roomtype with two floors and multiple Pandemonium Safe Spots, depending on which door is the right one. Guaranteed spots for both doors are shown on images 3 and 4.
 5 ›
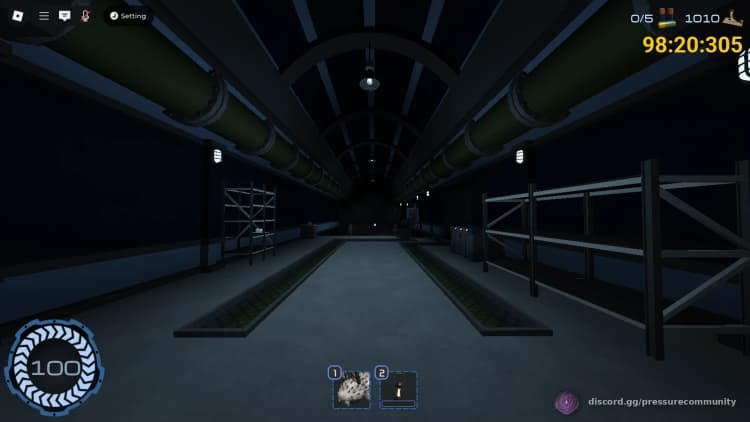
5 ›A 4-way room with 2 floors, with the lower floor destroyed and completely obstructed by rubble. One can climb through the rubble to find a side room on the other side, serving as a Pandemonium Safe Spot/Safe Spot (image 3). Another side room is on the right hallway (upon entering, turn to the right. As seen in image 4) which serves as another PSS/SS. (Image 5 is an example of how to hide in a side room as a PSS/SS, but do note that side rooms are randomly generated)
 5 ›
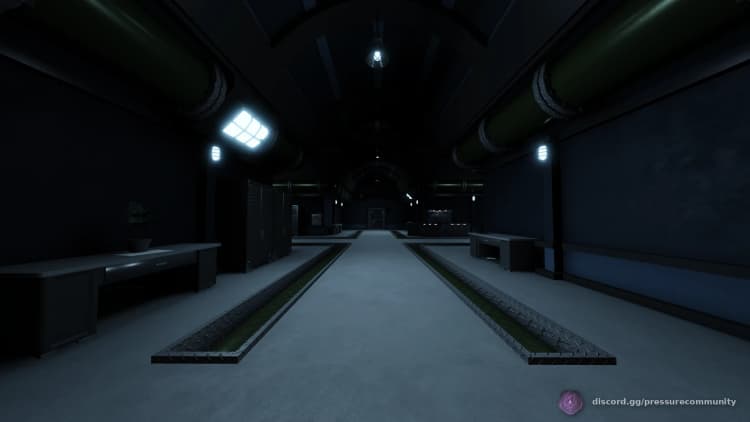
5 ›A 4-way intersection with fake doors (possibly Good People doors instead), there are two notable Pandemonium Safe Spots in this room, as shown in images 4 and 5. There are Safe Spots by simply staying out of the node path (that is, in simple terms, the path from the entrance to the exit).
 4 ›
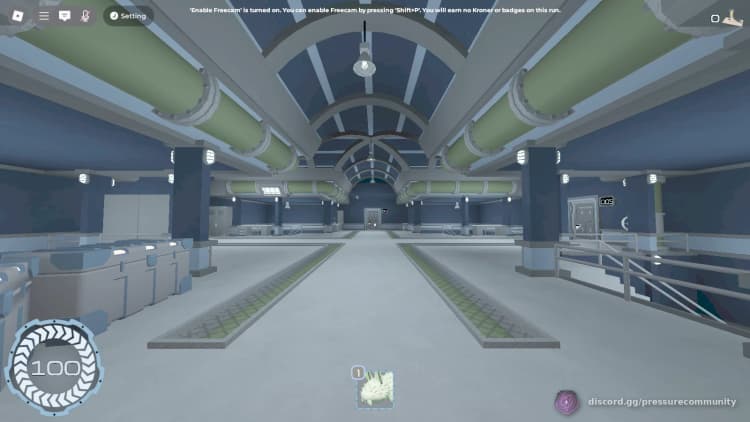
4 ›A room in the Normal roomtype consisting of a 4-way intersection with multiple staircases leading to lower floors, some of which are connected by doors. There are many Pandemonium Safe Spots/Safe Spots by hiding in between the doors in the lower floors, as seen in image 3.
 4 ›
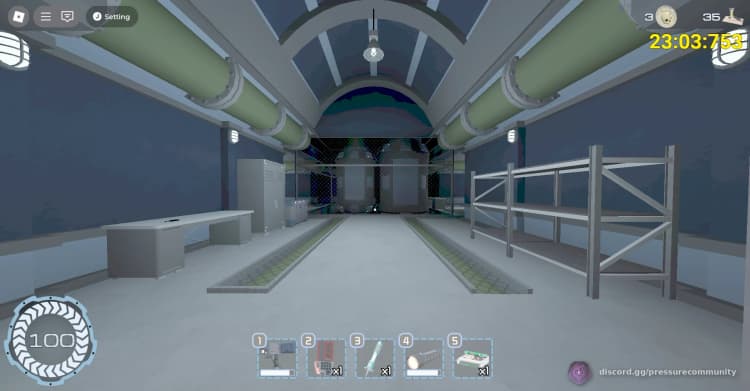
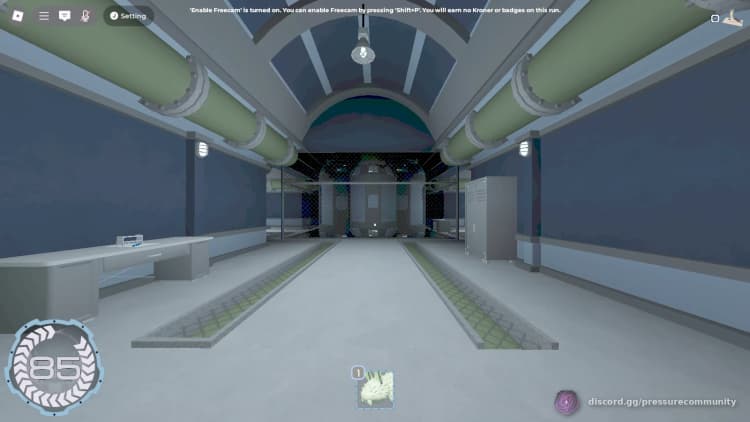
4 ›A 4-way intersection with a shaft in the middle, grated off with what appears to be machinery inside. For PSS, you can hide behind the locker at 3rd screenshot (right side) or behind furthest table on the left side depending on which door is right.
 4 ›
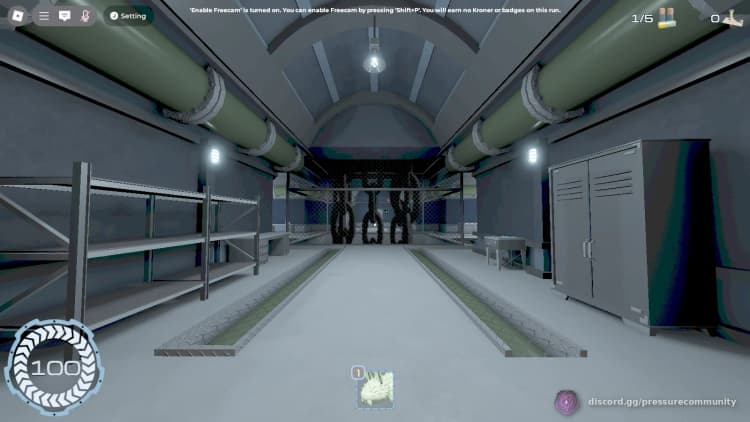
4 ›A 4-way room with the center being grated by machinery(?). There is the possibility for Good People doors to spawn instead of Inactive doors. There is a PSS/SS in this room by hiding beside a locker (the one shown in image 3, and image 4, top to bottom, left to right). In other cases, one can simply stay out of the node path, if possible, such as between two fake doors.
 4 ›
4 ›A 4-way room with a grated barrier on the center, with chains (and therefore the noise of chains). This room can spawn Good People doors. There is a PSS by hiding beside a locker and looking straight (may require climbing on the shelf and crouching to do so, as shown in the third picture).
 6 ›
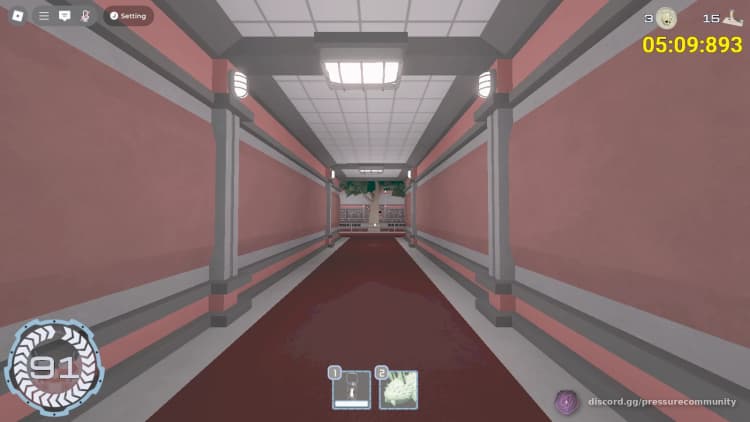
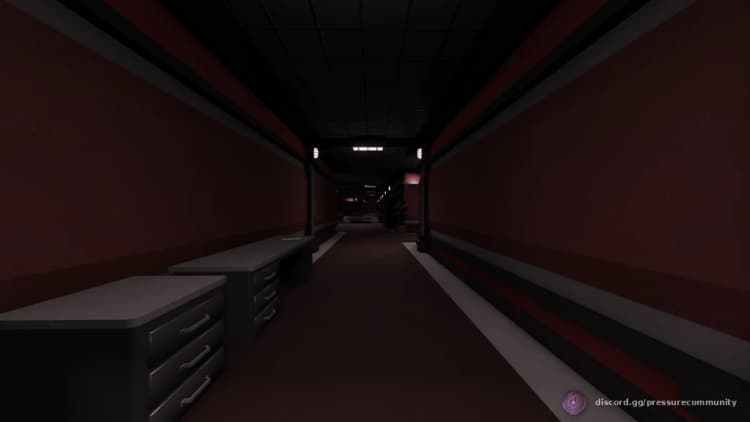
6 ›A very large room in the Blacksite Administration roomtype. It has many side rooms, but there are also Pandemonium Safe Spots/Safe Spots behind shelves (see images 4 and 5) where one can hide, both of these elements can give one safety.
 4 ›
4 ›A room in the Blacksite Administration roomtype with an elevator shaft and a couple office desks around the beginning of the room. There are plenty of Pandemonium Safe Spots/Safe Spots in various siderooms which are hiding out of sight, away from the path of Node Monsters (such as The Angler, and Pandemonium).
 6 ›
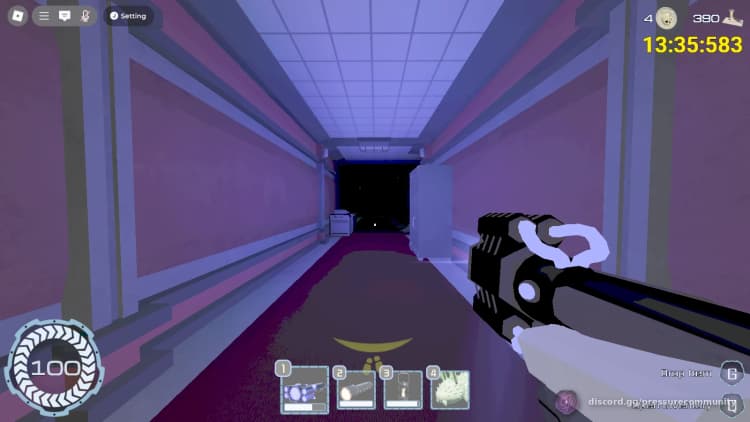
6 ›A room in the Blacksite Administration roomtype with destroyed hallways and a sub-room that leads to another intersection with a side room, being a Pandemonium Safe Spot/Safe Spot. There is also another PSS/SS behind a long shelf near the exit of the room, see images 5 and 6.
 4 ›
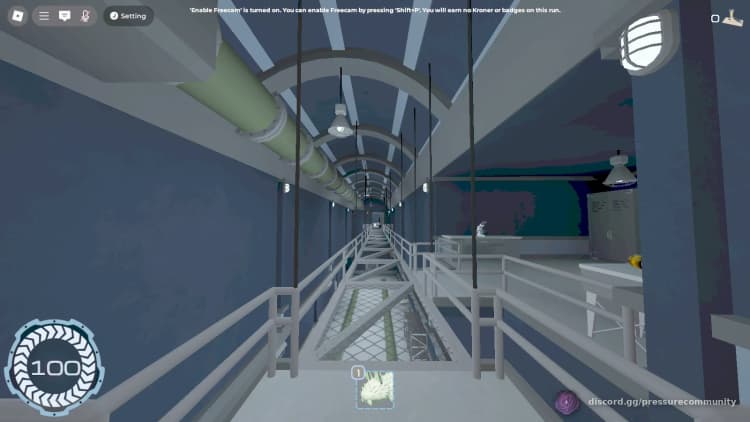
4 ›A catwalk with an inaccessible hallway underneath. In the end of the room can spawn locker (3rd screenshot) which is PSS, shelf is SS. PSS are behind long tables in both side areas.
 4 ›
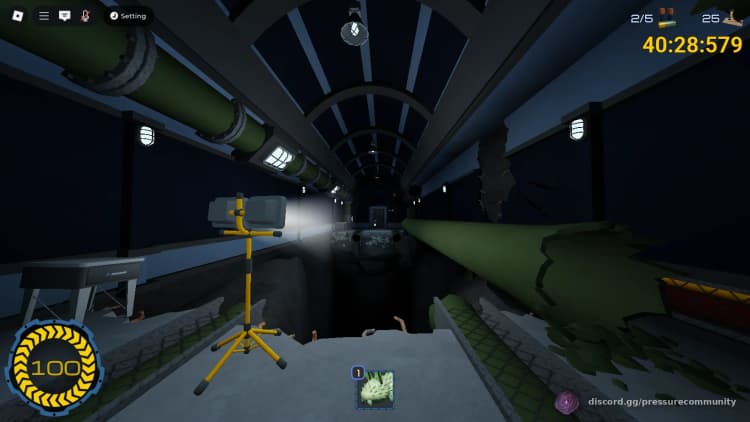
4 ›A straight room with a large crater in its center, falling into the pit will instantly kill the player. To cross, one can simply enter the pipe while crouched and crawl to the other side. This room has a PSS by standing in the middle of the pipe, (See images from top to bottom, left to right)
 4 ›
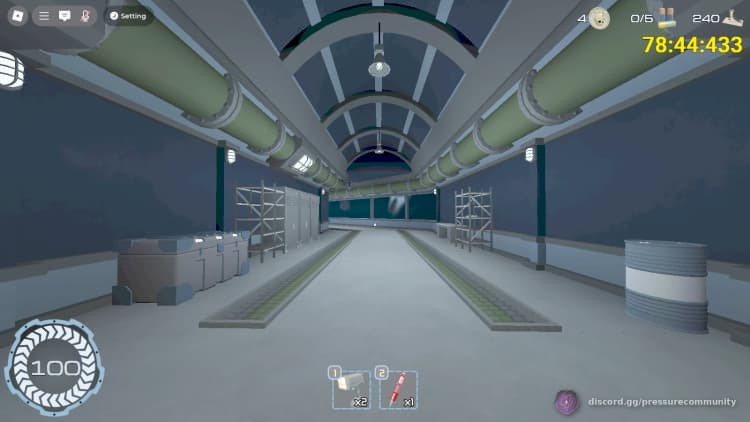
4 ›A large room in the normal roomtype, with an equally large turn to the left, housing a single side room. The side room itself is a Pandemonium Safe Spot/Safe Spot. There are no other Safe Spots in this room.
 4 ›
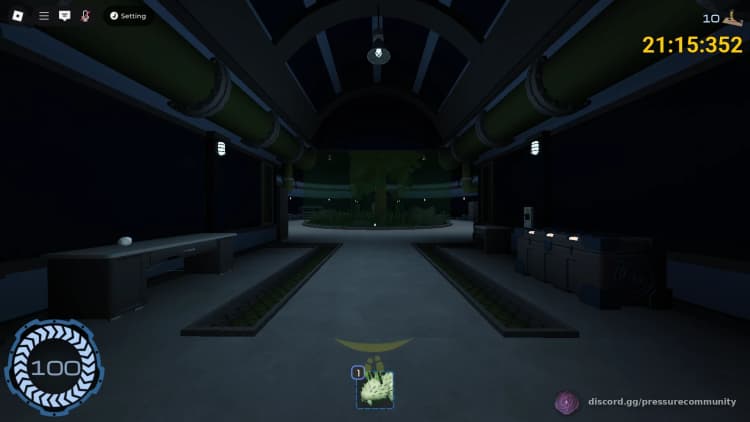
4 ›A 4-way intersection with a large tree in the centre, one cannot approach the tree closely due to it being blocked off by glass. There are two Pandemonium Safe Spots/Safe Spots, either beside a locker or behind a crate while crouched and looking down. (images 3 and 4, green marker points to where safe spots are. Pink marker is fake doors) One can also be safe from node monsters by simply staying beside the fake doors, outside of the monsters' path.
 4 ›
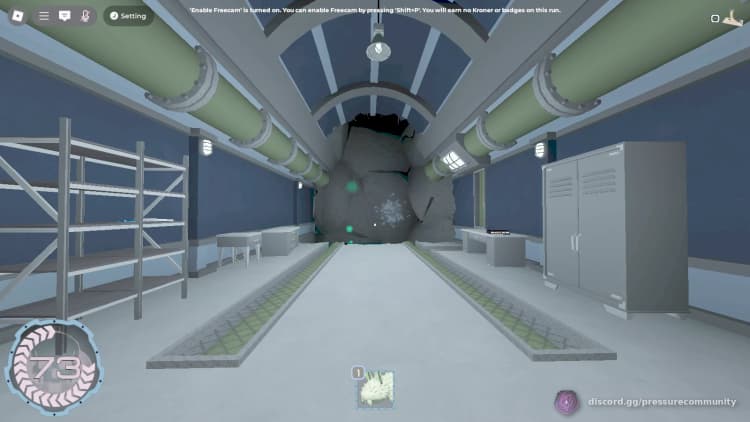
4 ›A flooded room that begins with a broken floor and many rocks blocking the way. At the end, there is SS by staying in a corner near a fake door, away from the node monster's path. Do note that lockers have no hitbox underwater and that one cannot hide beside them.
 4 ›
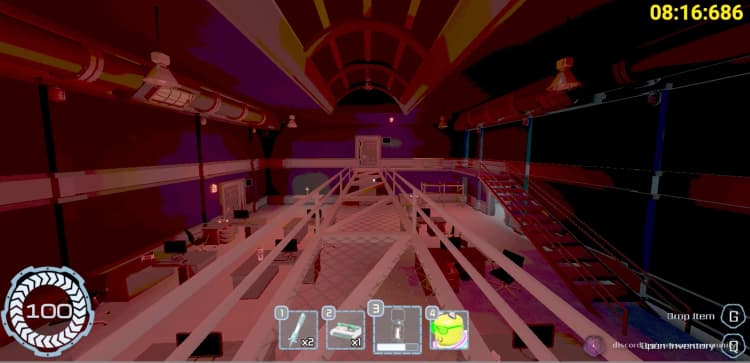
4 ›Large room where you usually enter the room with a catwalk that continues with a staircase downstairs leading you to the next door. The corners are Safe Spots except the ones that have the next door and the staircase.
 4 ›
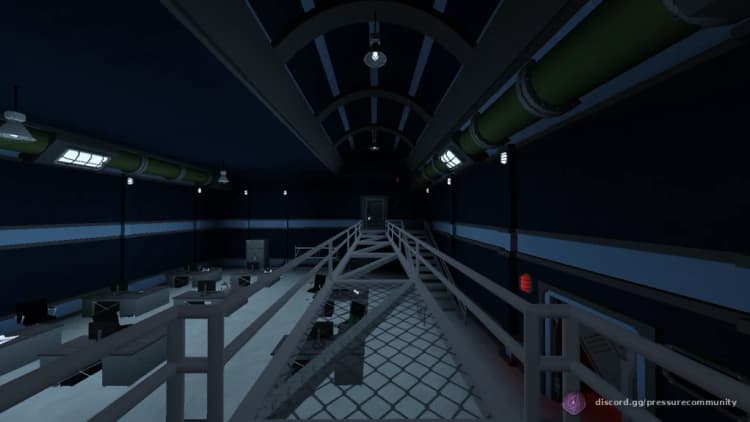
4 ›A room in the Normal roomtype consisting of a catwalk leading towards the exit door (always locked by a keycard) and a set of stairs leading to a lower elevation. To hide from The Angler/Pandemonium, one can stand beside a long shelf, looking straight ahead, this is PSS/SS.
 5 ›
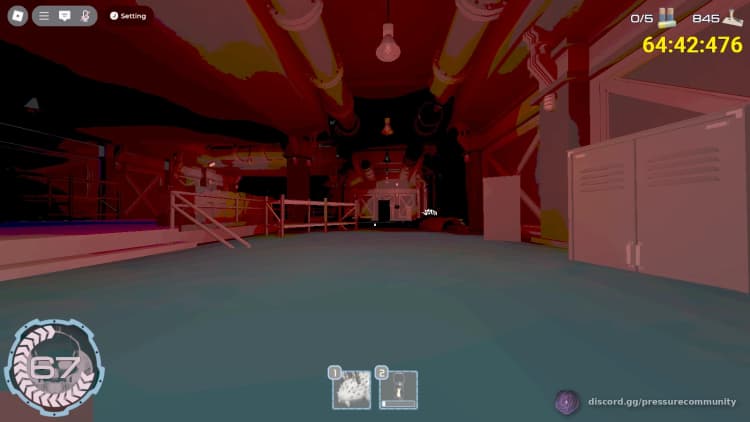
5 ›A 3-way intersection room in The Dredge roomtype. There is a Safe Spot/Pandemonium Safe Spot by hiding near a crate, crouching, and looking down. (See image 4 for the crate's location, and image 5 for how it should like)
 4 ›
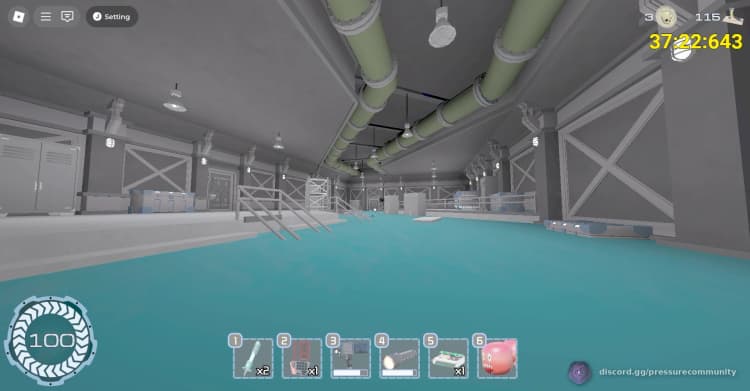
4 ›A room in The Dredge roomtype with two platforms (accessible by staircases) and a hall shaped in a zig-zag manner. On each platform, there are side rooms where one can hide, serving as either a Safe Spot, or Pandemonium Safe Spot.
 4 ›
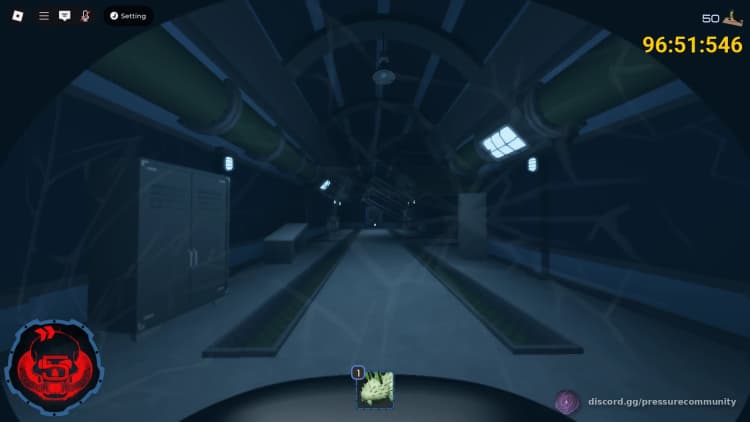
4 ›A flooded 3-way intersection, with many props scattered over the place due to the room's flooded nature. There is a long shelf one can stand behind, away from the node path — a Pandemonium Safe Spot/Safe Spot — as shown in the images. (More specifically, the 3rd image, and 2nd image showing where the shelf in question is) Another Safe Spot is simply staying out of the node path. However, staying out of the node path without hiding behind the long shelf is not a Pandemonium Safe Spot. (See images from top to bottom, and left to right)
 4 ›
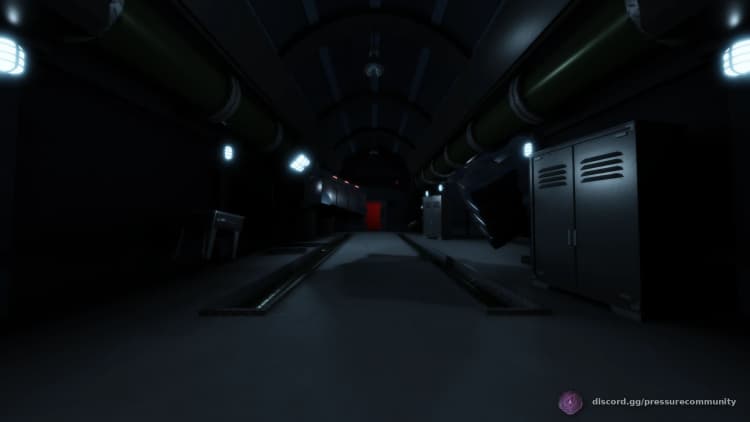
4 ›A flooded room consisting of a 3-way intersection, with a staircase leading up to an elevation in the right (when seen from the entrance). It is SS by default, but can be PSS if one looks up and stays close to the floor underwater.