
 10 ›
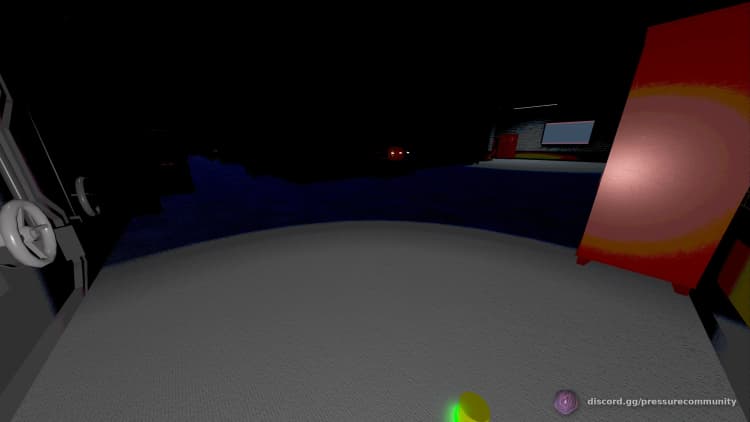
10 ›𝗧𝗛𝗘 𝗘𝗗𝗨𝗖𝗔𝗧𝗢𝗥 𝗣𝗥𝗢𝗧𝗢𝗖𝗢𝗟. First introduced on April 2024 in Evil Mode, later reintroduced on September 2025 in Plush Mode, the Final Schoolhouse Grand Encounter which appears only after RidgeEnd. Upon entrance, The Educator will greet you to the "final exam," where you must collect 10 out of 12 notebooks around the schoolhouse and then exit through the door at the far end of the schoolhouse. The Anglers will repeatedly appear during the Grand Encounter every about 40 seconds at the start of the room, they will choose 1 of the 3 paths from the start of the room to the end of it. The Educator appears at the exit door of the room, and will repeatedly approach you. Notably, the Grand Encounter had a chance of appearing in the Endless expedition when it was first added after around door 900. During the Evil Button mode, the next room after the Grand Encounter would always be Evil Mode end, during the Plush Mode the next room would always be RidgeCollisionAirlock. PSS/SS is inside any sideroom in place where you cannot be seen through the window/door, crouching behind a table is the best way. Image 10 layout by Man01. ᶜᵒˡˡᵉᶜᵗ ᵐʸ ⁿᵒᵗᵉᵇᵒᵒᵏˢ
 5 ›
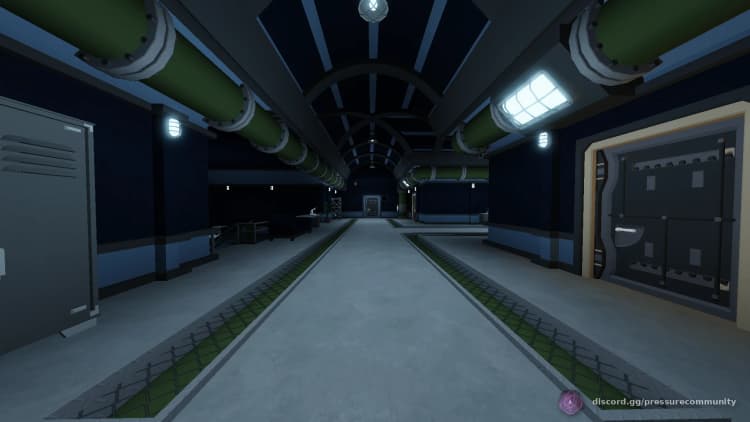
5 ›Junction room with sea bunny area on left. PSS/SS in side rooms, SS up the window in bunny area, and in either corridor that isn't the real door. Side rooms are examples, may vary between encounters.
 10 ›
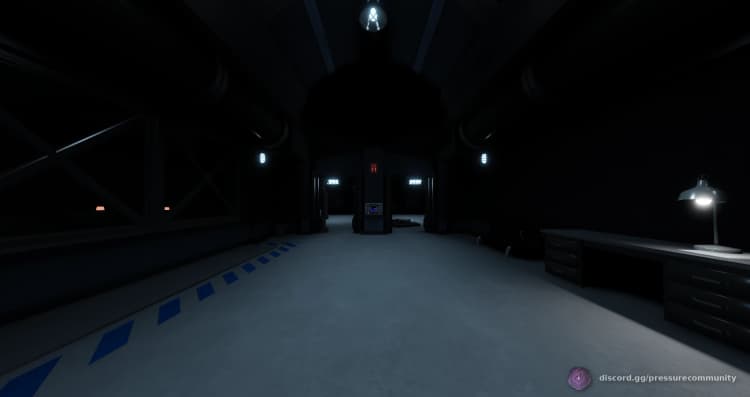
10 ›The Searchlights Grand Encounter. To start the encounter walk towards the gate in the first security checkpoint room. The objective is to fix at least 5 generators, the number of generators needed goes up by 4 with every player in the lobby. The Searchlights is roaming around the area in pre-made paths, they are not random. You may use many safe spots to avoid it such as large shelves, containers, under the conveyor platforms, and much more, or you could use a locker. You may change the conveyor direction if you need it. After fixing all generators needed, proceed to the right side of the map as the gate to the next security checkpoint will open, and there the encounter will end. PSS/SS in the encounter itself is in almost every container, in the second security checkpoint room it is inside the sideroom, hide in the left corner by the window or behind the wall in-between the door and the window to be safe, as nodes can see you through the window. The room spawns only after SearchlightsTramEnd, and is also a dead zone.
 10 ›
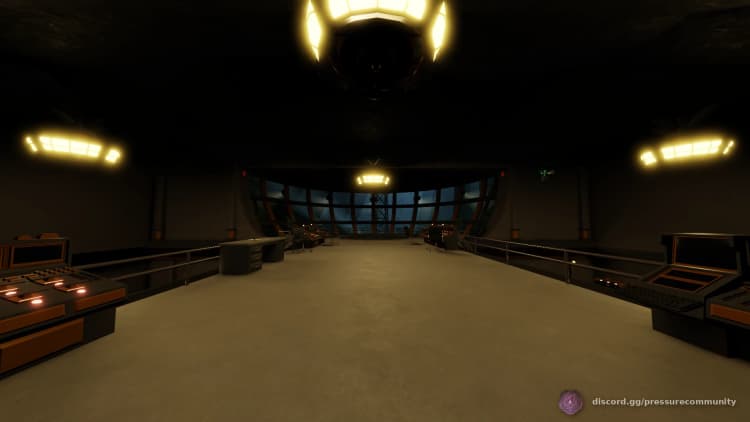
10 ›The very last "room" of the game that comes right after RidgeEnd, being the Searchlights Ending Encounter. Upon entrance HQ will tell you to grab the communication mask, it is completely optional as not doing so will only prevent HQ from being able to communicate with you through the encounter, but main goals will still be highlight as the encounter progresses. Go down the stairs, get into the Airlock and pull the lever to begin. The encounter's main goal is almost the same as the Searchlights Grand Encounter, you must repair 7 generators, the number of generators needed to be fixed goes up by 5 with every player in the lobby, and caps at 41 generators. Unlike the Searchlights Grand Encounter, the encounter now has a lot more complex terrain, there are now steam pipes that will damage you if you pass through the steam, and has a continuation after fixing all generators. About every 1/3 of the total generators fixed another Searchlights will appear, first one always spawns above the cave, second one above the Final Swim arena, and the last one at the skull in the corner of the map. Most of the safe spots are highlighted with green smoke, they can be container, cave, a room, or a skull. You may also swim at about Searchlights level, but swim up too much and you will have to deal with parasites, to prevent that use the Final Swim entrance roof as your guidance on how much you can swim up, do not go above the roof. After finishing all generators, you must head to the center of the map which will then be highlighted with a large yellow beacon by the HQ, and you must pull the router to then activate the cannons and open the gate to the Final Swim. The Final Swim entrance will be highlighted by another yellow beacon, there you must swim through and pull 4 levers as the Searchlights circle around the arena, safe spots are obvious. After pulling the last lever, swim to the right side inside the opened entrance and then you will see how Lucy crushes one of the Searchlights, signifying that you have "won the game." Swim past Lucy, enter the Airlock, pull the lever and head to the right door to the dock #235 where the submarine will arrive and end the game once you press the "Leave Blacksite" button in the submarine.
 10 ›
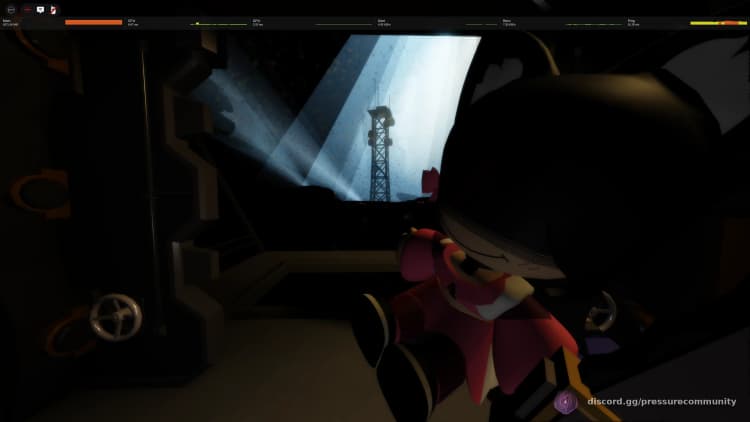
10 ›The Room is essentially like "SearchlightsEnding" but set in Plushmode, the final room before beating the game in Plushmode while holding "The Demon" plush modeled after Kibo, one of Pressure's main lead programmers, instead of the usual Starting Generators being 7 it is 16 instead, and the Required Generators goes up by 5 per a player alive upon reaching FSL (Final Searchlights), Searchlights can go invisible during this Grand Encounter, Generators will have an additional Red Bar that will deal 25 Damage and reset your Progress upon hitting it.
 8 ›
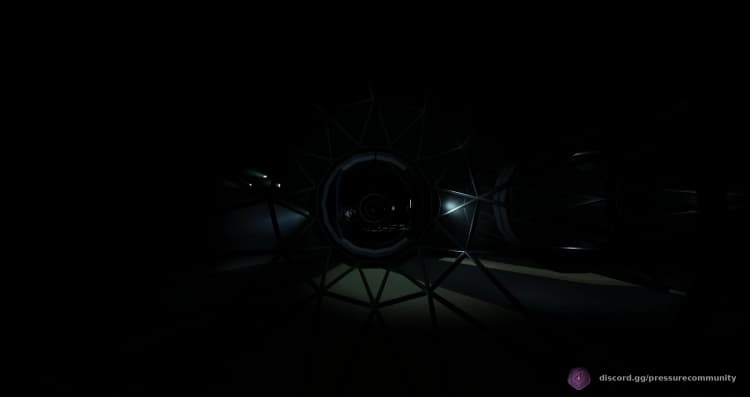
8 ›Tram ride to the Lunar Grav Dock. Upon entrance you will see the Searchlights passing on top of the tram and NAVI warning you of it, if p.AI.nter is not "rescued" then NAVI will not be able to close the bulkhead. After the tram arrives, the first part of the room is almost identical to SearchlightsTramStart, with a catwalk on the left side of it leading to the second half the room, with 2 doors that then lead to the Searchlights Grand Encounter. This room appears only in-between SearchlightsTramStart and SearchlightsEncounter, and is also a dead zone.
 8 ›
8 ›Start of the tram leading to Searchlights Grand Encounter. To power the tram, you must head to the center of the room and repair the one broken generator, after head inside the tram and activate the tram. PSS/SS is on the left side of the 2 walls in the middle of the room as the nodes go through the Route B and later despawn. Dead zone, next room is always SearchlightsTramEnd.
 6 ›
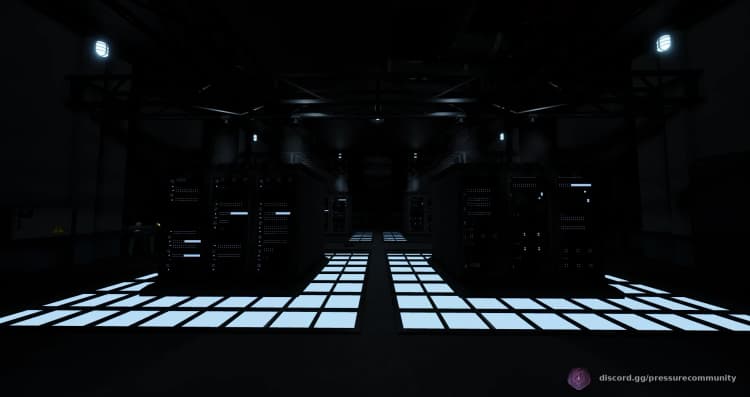
6 ›4-way short room in the Server Farms roomtype. Multiple PSS/SS behind the servers depending on where the next door is.
 5 ›
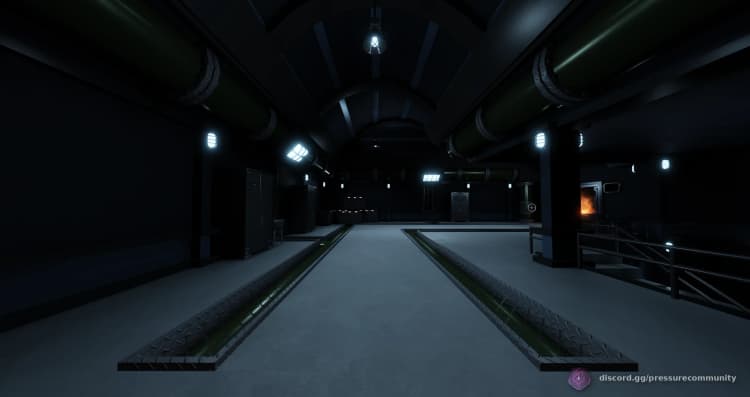
5 ›Room can contain Good People. Entrance to cave is shown via the door in Image 2. PSS can be used by simply staying out of sight of the exit, preferrably on the left side of Image 4.
 6 ›
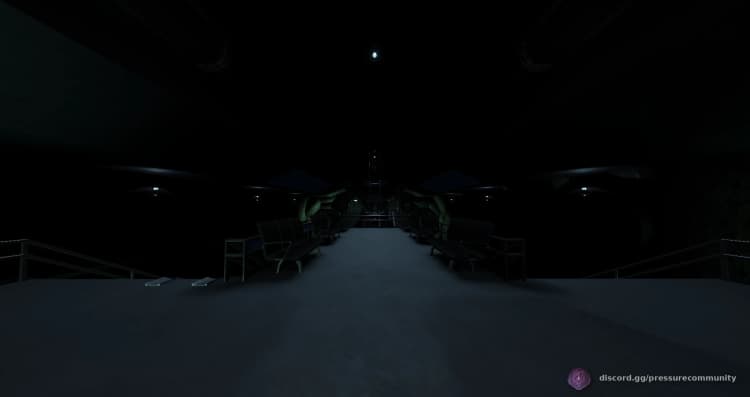
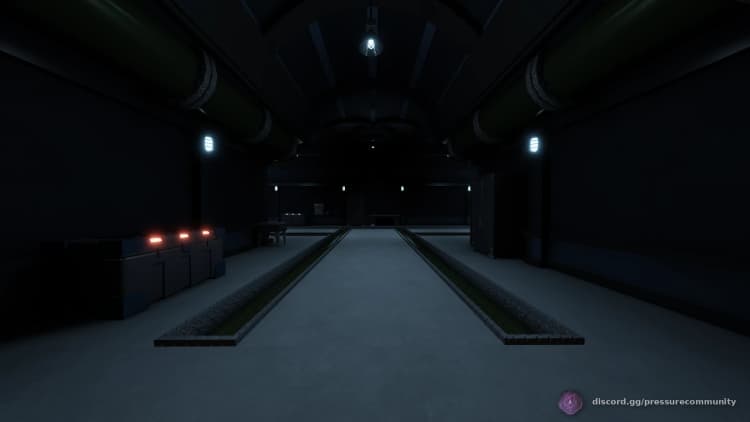
6 ›A dual long hallway room in the Default roomtype featuring windows which can give the player a sight to the other side. Both paths converge to the exit, in the end. Eyefestation can spawn in this room, on either side windows of each bridge, with no guarantee (it will spawn on both side windows if Outraged/Enraged). There is no PSS/SS in this room, however the node path is 50/50.
 8 ›
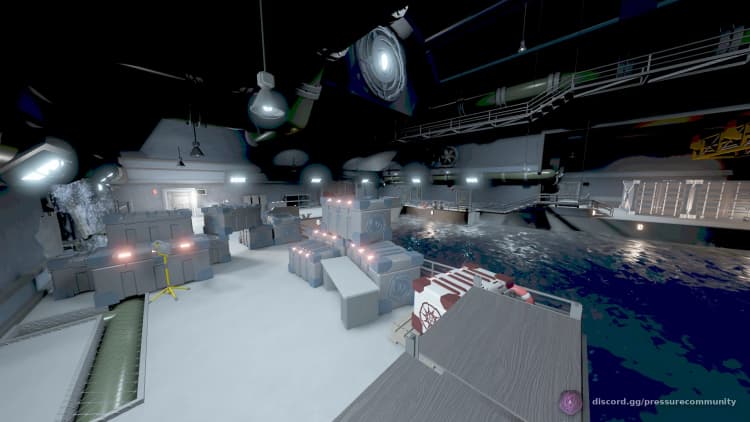
8 ›The very start of the game once exiting the submarine. Though only eight images are present in the database entry, there are 13 docks currently in use throughout Pressure - 8 in the main game, and one for each gamemode except Three Nights. The F9 log cannot distinguish these as all of them have an identical room ID. Notable distinctions include: the Heartburn and Vault starts are the only two without a submarine, and instead Heartburn spawns the player in a corridor leading to the starting elevator, while Vault spawns the player in a tram or at the station if the cutscene is skipped (also the only one with a cutscene); the Raveyard start is the only one outdoors, and the only one which detonates PDGs if a player returns to it; the Hunted start is the only one with an openable area before the locked door (that being the area to the left housing the decoder), and is also the only starting room that is guaranteed to have only a password; the Main and Endless docks are the only ones that can have the dead drop crate as those are the only modes with the shop enabled. In the Main Expedition, Docks #13, #48, #56, and #99 all start in the regular Hadal Blacksite, while Dock #16 starts in the River Rooms, Maintenance Dock #B-14 starts in the Server Farms, the Unfinished Dock starts in the Outskirts, and the Outlying Cave (universally despised) starts in the Maintenance Tunnels. Every main dock features the following guaranteed features: a Dead-Drop Shop Crate, a desk with a piece of research data as a tutorial for picking up data, and a forced crawlspace that leads to the keycard or password for the first door. B-14 is the only one with the crawlspace being a vent, 48 is the only one where the crawlspace can be circumvented by going the long way around the dock, and 99 is the only one where item crates like in locked siderooms can spawn. Dock #13 is the only dock that appears in multiple variants - as its own starting dock, as the ending dock in the Hunted (4HuntedEnd) (also implies this being the canon dock for the EXR-P, initially the only dock in the Main Expedition prior to Worth The Wait Part 1, and also the original Endless start), and as a rare room (Dock #46). The Endless start is a hallway through which the EXR-P's submarine has crashed, and does not feature a crawlspace. It is the only start with the pedestal to summon Harbinger. The room is also identical to LongStraightSubmarineCrash. The Hunted start features a side area up the stairs to the left next to the password desk, through which you can find the only known door in Pressure that both has the invalid "- -" sign and is able to be opened. The room beyond is identical to 3WayMultiFloorStraight, and the side room at the bottom is locked by a random eight-digit password that can be found on various notes in the lobby, unlocking the decoder that allows the player to decode radios in order to gain access to the Vault. The Vault start begins on a tram ride for the first time you enter the gamemode, showing the titular vault on the left over a large lava cave - the room below is ActualEnd, the ending sequence of the Vault. The Raveyard start begins on an outdoor dock, and is the largest of all 13 - it features multiple side areas (all graveyards) accessible by stairs with a large amount of trash to be collected. The Heartburn start begins in a hallway that leads into an open area with an elevator downwards into the Quarry, where the gamemode actually begins - it is the only one with an elevator.
 4 ›
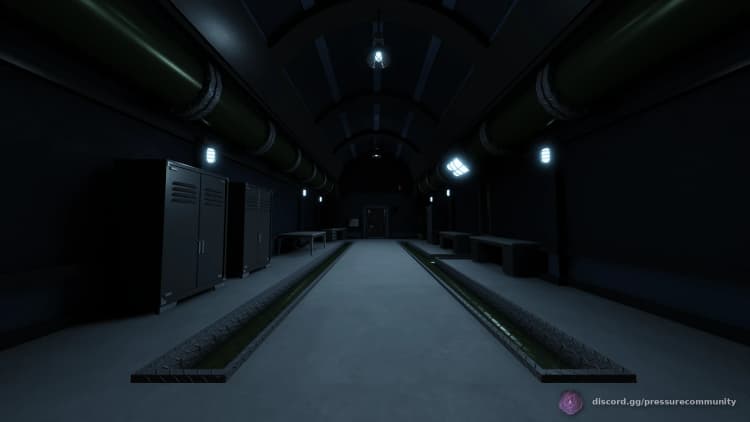
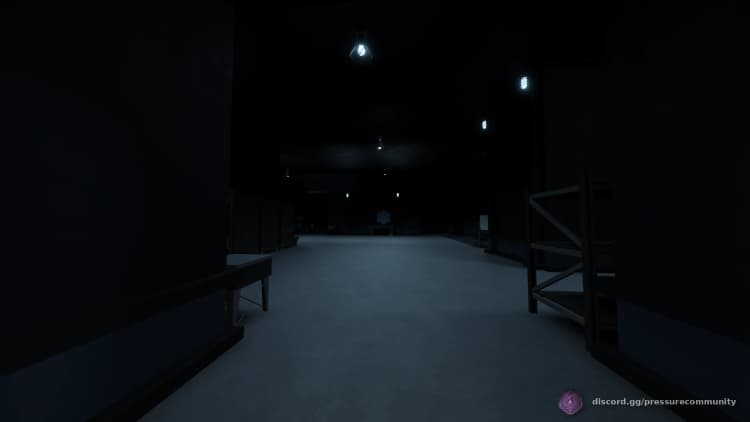
4 ›A short straight room with lockers scattered around. PSS/SS is behind the table at the end of the room.
 5 ›
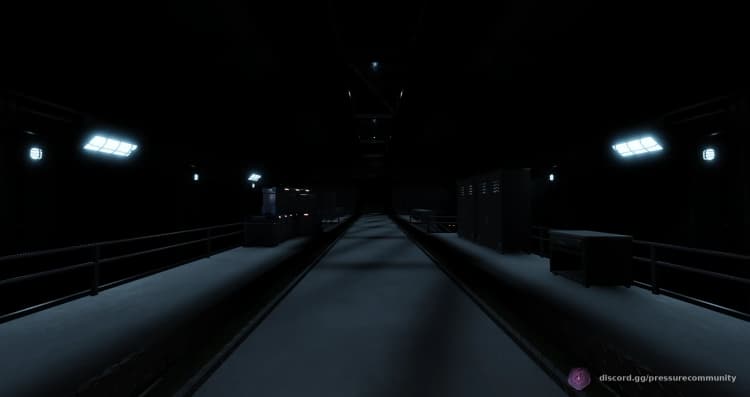
5 ›Straight room with inaccessible catwalk on the top of the room, 2 staircases on the left and right sides that lead to the lower floors. The lower floors are PSS/SS. Eyefestation can spawn in any of the windows. 2 Eyefestation will spawn at both windows at the same time if you enraged it.
 5 ›
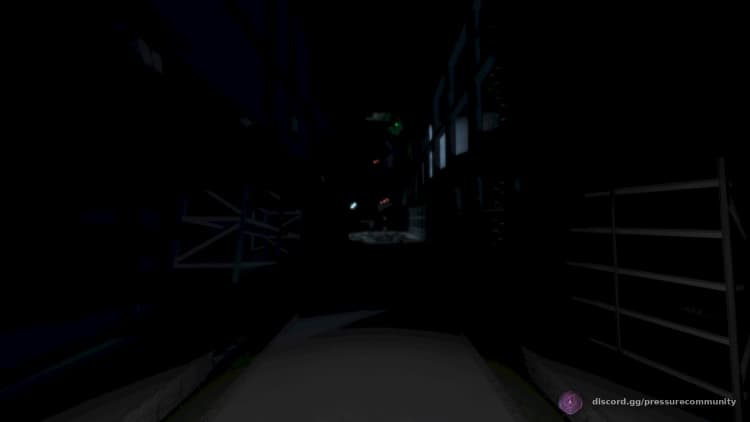
5 ›A room that serves as one of the many ends to the Flooded room type. It begins with a long hallway with a hole on its ceiling, with green beacons indicating its location. SS is simply staying at the ceiling in the underwater section of the room as seen in image 2, PSS is behind the large shelf at the end of the room.
 4 ›
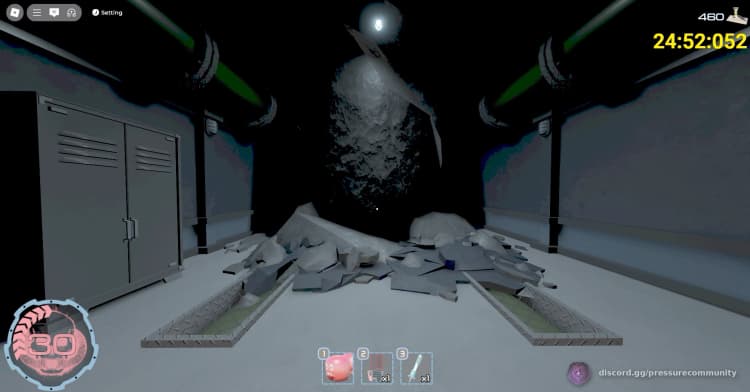
4 ›Straight room with a collapsed roof and rock debris forming a large boulder in the middle. There is no PSS/SS in this room, however is a 50/50.
 4 ›
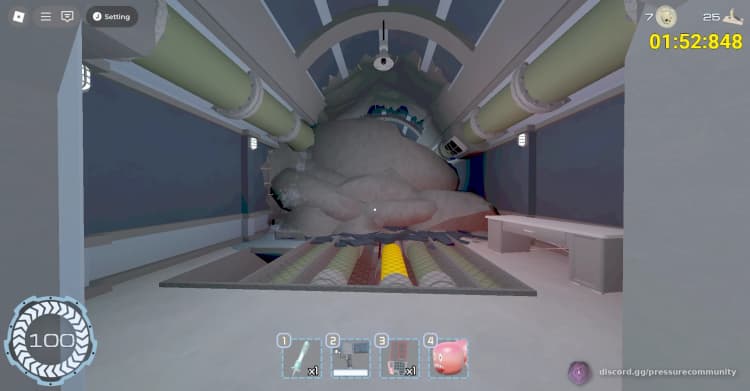
4 ›Basic default room similar to floor vents seen in the Trench Roomtype. Enter the vent on the left, and cross to the right to exit. Stay inside the vents (image 4) for PSS, middle of the vent system is only SS. Has a misspelled room name (Should be Destroyed, not Destoyed).
 5 ›
5 ›Straight room in the Default roomtype with a rocky ceiling. No PSS/SS. Nothing else notable.
 4 ›
4 ›Straight room in the Default roomtype, Eyefestation may spawn on top of the room. No PSS/SS. Nothing else notable.
 7 ›
7 ›PSS/SS by crouching and looking down the crate on the right of the entrance. A straight room that suspiciously resembles the office of the Game Theorists, with a familiar backdrop behind a sofa and a board filled with what is surely deep lore. But hey, that's just a theory!
 8 ›
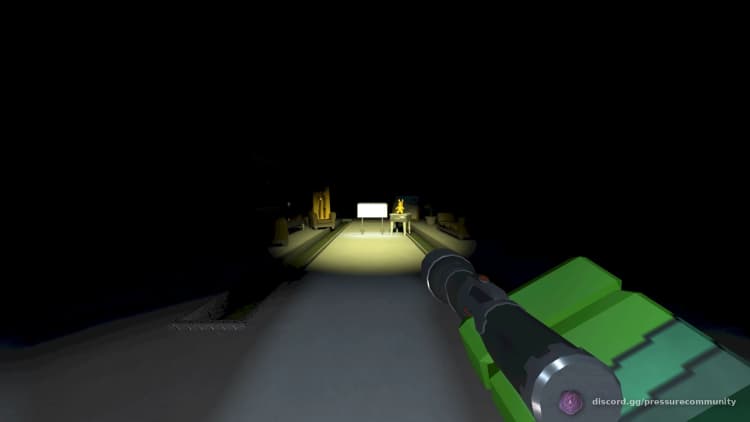
8 ›Short straight room that is always dark. A sign in the middle purports this room as "the rarest room in the entire game [...] as of WtW Part 1". Next to the sign is a desk with a golden bunny figure and a splorglight in the drawer. Adorning the walls are multiple paintings of Sebastian, a Squiddle, and a cat, among others. A golden wall dweller monolith is perched in one of the armchairs; it will not spawn a real wall dweller. Everything in the room is tinted golden yellow. The door frame before entering is notably also golden yellow. No PSS/SS, but a dead zone. Notably, despite the sign saying it is the rarest room, it is 1 of the 2 candidates for the current rarest room after Worth The Wait Part 1.
 10 ›
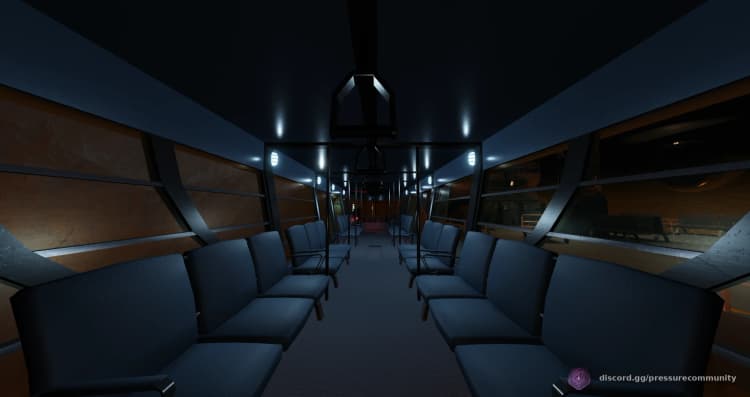
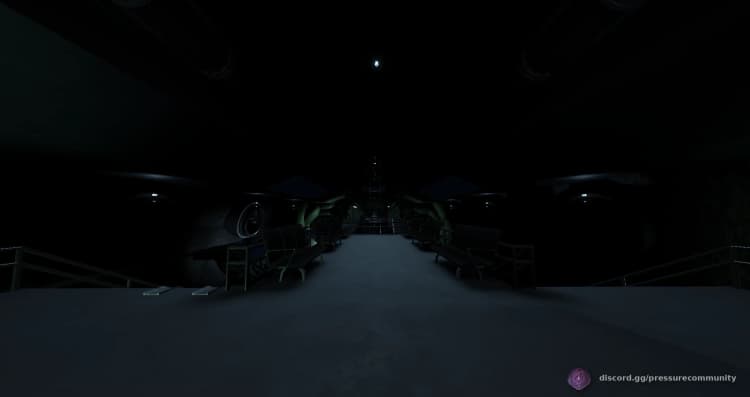
10 ›First 5 images for TramEnd in the Mantle Extraction roomtype for Vault expedition. Second 5 images for TramEnd in the Default roomtype in Normal & Endless expeditions. Mantle Extraction (Vault) TramEnd: appears only at the start of the Vault expedition after entering it from The Hunted expedition, always comes right after Start that shows the Vault itself. Next room is always 1LavaLabsCrookedStart, where the show begins. In the middle of the room is a button which after activating will deactive all of the Hosts voicelines. Tram (Normal & Endless) TramEnd: the end room of the Tram roomtype, nodes come out of the Route B side so for PSS stand behind the walls on the Route A side.
 7 ›
7 ›Start room of the Tram roomtype. To proceed head inside the tram and activate it through the panel. PSS/SS on the left side of the 2 walls in the middle of the room as nodes go through Route B and later despawn. Dead zone.
 4 ›
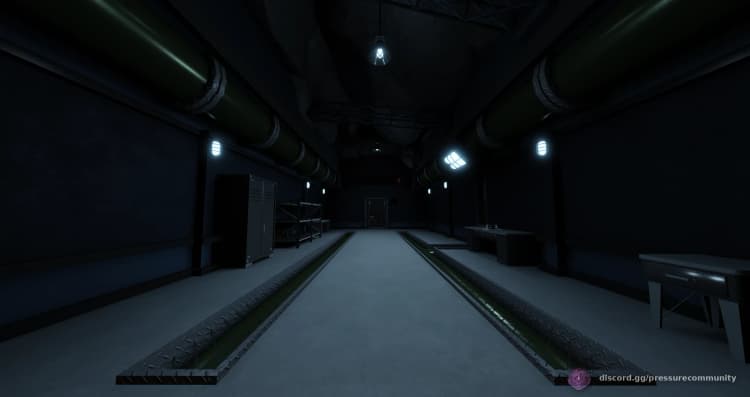
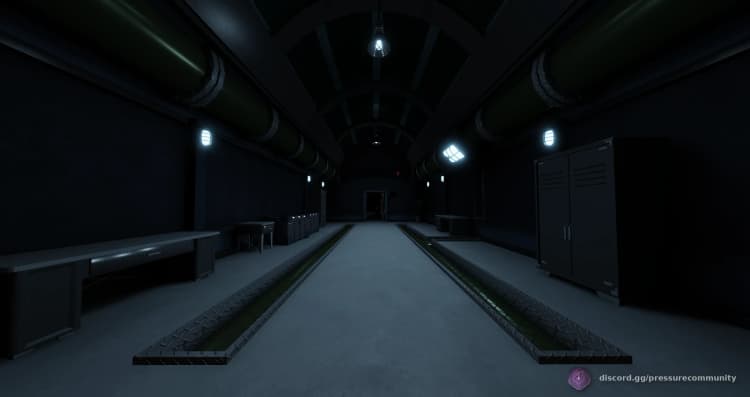
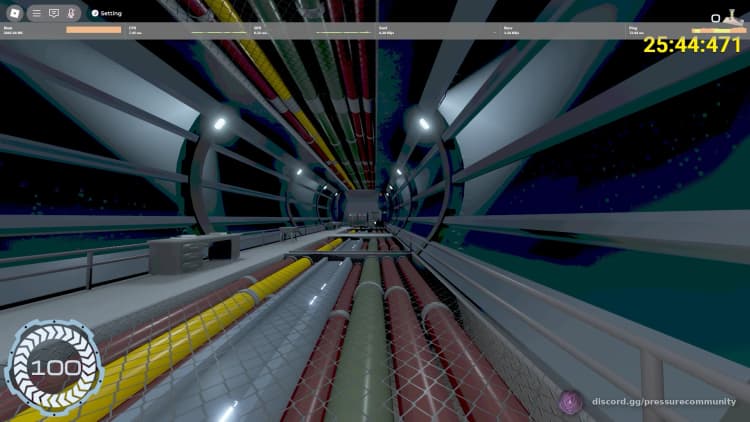
4 ›A long straight hall inside the Trench Tunnels. For SS stand behind a locker at the start of the room, for PSS crouch and look down behind the tables on the left side of the room.
 4 ›
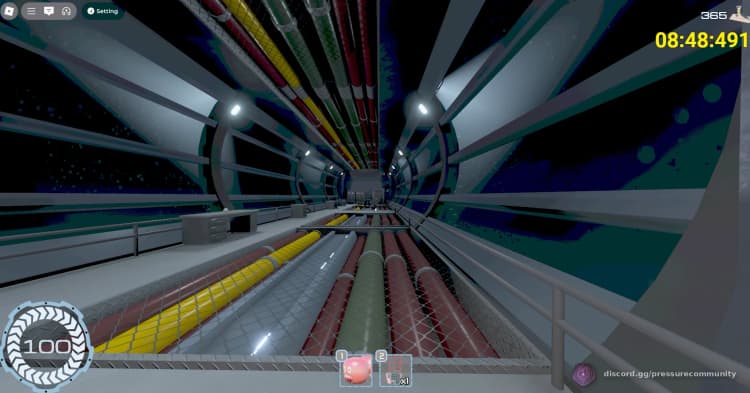
4 ›Long straight room in the Trench Tunnels. Eyefestation can spawn in a window. PSS behind the long tables on the left side, but risky to perform. SS behind the lockers at the very start or end of the room.