
 8 ›
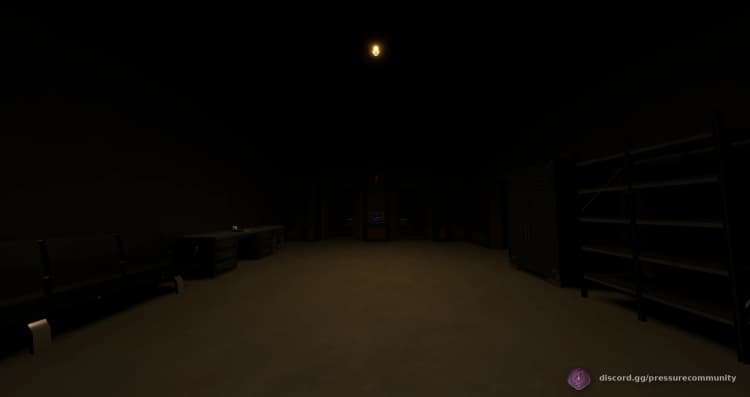
8 ›Guaranteed checkpoint room right after Room100 in The Ridge. Small room with purple keycard and a pair of doors, the door to the next room on the other side, and a checkpoint side room on the right. PSS/SS is either standing behind the wall in between the window and the doorway inside the checkpoint side room, or sitting to the left side of the window inside the checkpoint side room right in the corner. The room is a dead zone. The Ridge document is located on the large shelf inside the checkpoint side room.
 8 ›
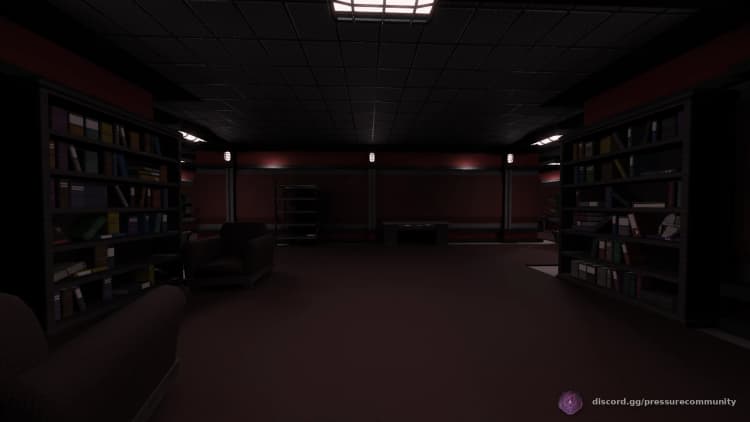
8 ›A somewhat large admin room, the side rooms that are apart of the middle section of the area are to be treated as unsafe, best to go to the siderooms on the edge of the room. Which is a PSS, to get to the exit just follow the main path all the way down the left or right corridor of the room.
 4 ›
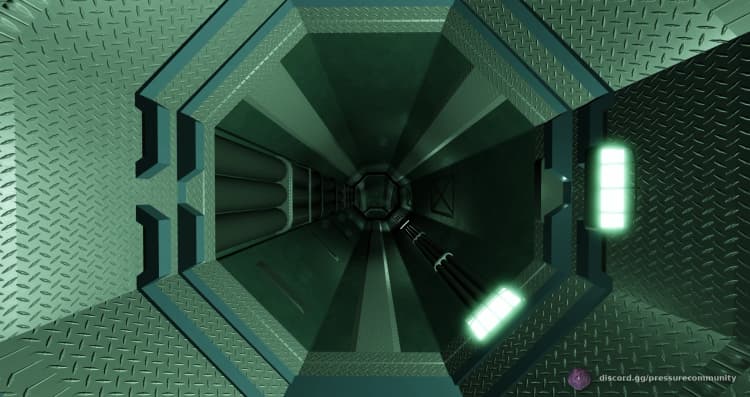
4 ›A room present at the end of the Abomination Chase it has a guarenteed cocktail perinthesine. PSS and SS being next to the box in image 3 or behind the forklift also in image 3. This room is also a deadzone.
 10 ›
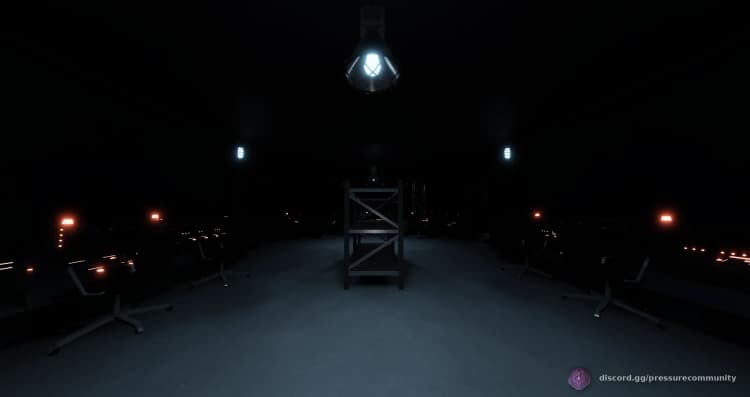
10 ›The beginning of Abomination Grand Encounter and the Abomination Grand Encounter rooms. Counts as 2 rooms as both the start and the encounter are under the name ChaseStart. Go down the stairs and pick up one of the gliders and dive into the water, press E to activate the glider to swim faster, hold Q to look back. Once in the, water proceed through the tunnels in the far right side, simply following the tunnels, you will arrive to the start of the Abomination Grand Encounter itself and that is the second room of ChaseStart, all players will be teleported inside and then you must keep following the tunnels until the encounter starts. The encounter is a chase, so all you must do is keep dodging. As you progress through the encounter while being chased by Abomination you will have to dodge rotating fans, sudden explosions, and steam. The encounter is mostly random generated, but there are 3 guaranteed "rooms" of the encounter: the very first one where 2 of the 3 tunnels explode, the correct one is always straight, around midway through the encounter when Abomination will start charging at you and you must dodge by going left or right while dodging 2 sets of fans, and the very end where Abomination will yet again start charging but this time there will be falling rocks from everywhere and you will have to dodge the Smart Mines instead. Once beating the encounter, you will be awarded with "Sewer Creature" badge and "Hard Carry" if someone was piggybacking on you through the entire encounter, then you will receive unavoidable 50 damage, which cannot kill you so your health will never go below 1. The next room is always ChaseEnd. PSS/SS anywhere on the right side where as nodes will always go through the left side and then into the dead end door, or anywhere inside water.
 5 ›
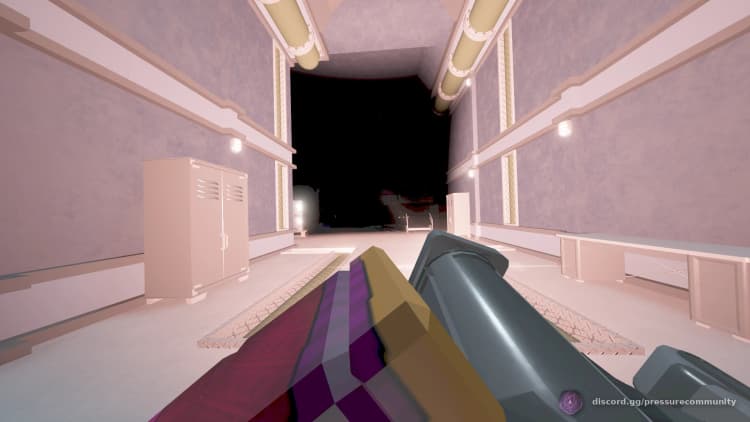
5 ›A large room with a Candlebrute inside. Has two exit doors, one fake one real. Fake door will always be lit (Good People). Will usually need a keycard / password to proceed, but not always.
 5 ›
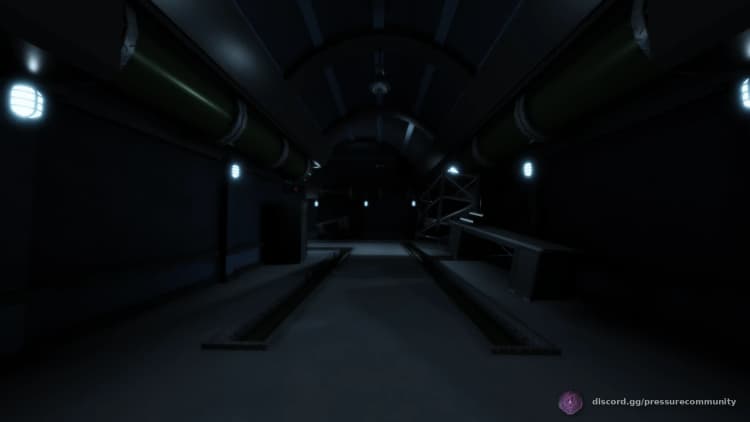
5 ›A straight room with a left turn in the flooded rooms roomtype. A PSS is behind a shelf at the beginning of the room in image 5. Make sure to keep your head and body behind or angler will see you.
 5 ›
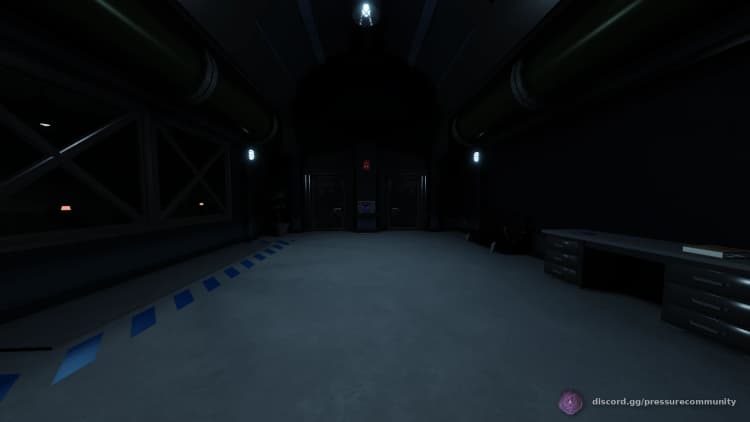
5 ›The start to heavy containment fitted with a double purple keycard door and a checkpoint. PSS inside of the checkpoint room.
 4 ›
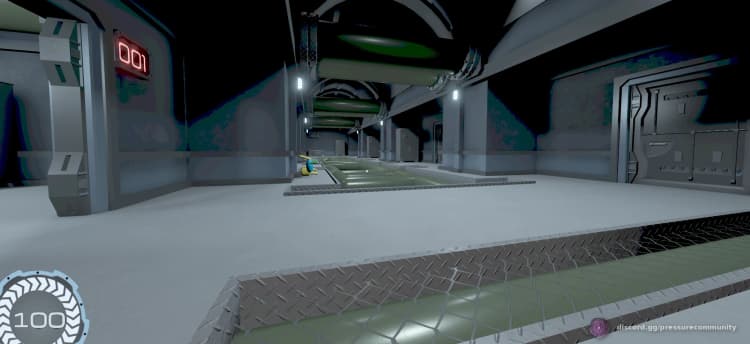
4 ›A room which is one long corridor with 4 divots. The divots that are ### PAST ### the exit door are PSS (as shown im img4)
 5 ›
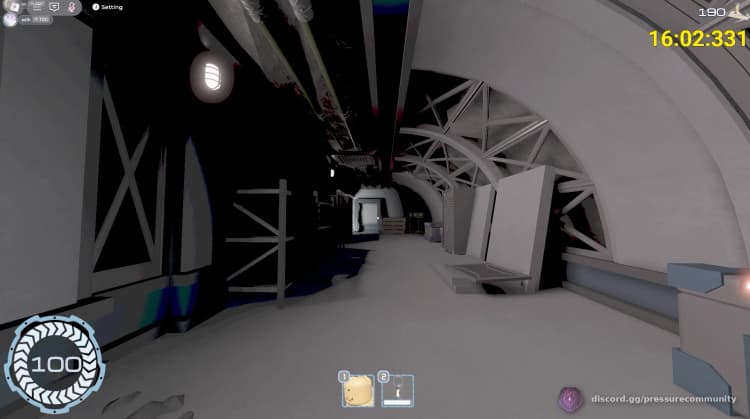
5 ›A relatively basic room that consists of a straight, left turn, straight and left turn making somewhat of a squared M shape, however this room has a sizable divot opened up with walls consisting of rock, this has 2 easy pss' shown in img 3 and 4
 4 ›
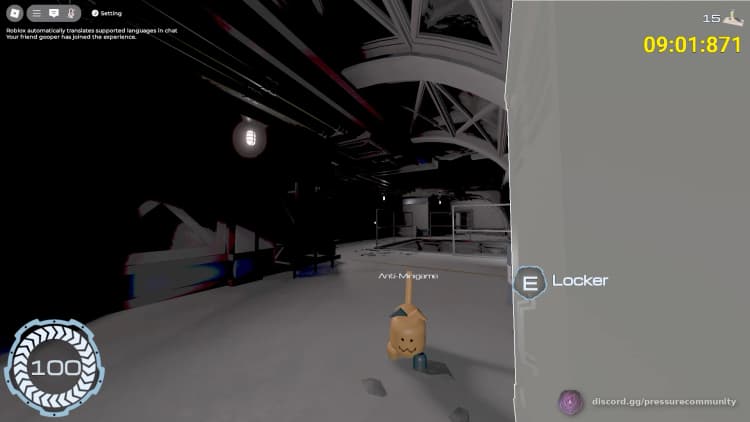
4 ›A short room in the outskirts that has a large pit in the center that can be fallen into due to no barrier. There is lockers at the beginning divot and the exit divot. No other hiding spots beside this
 4 ›
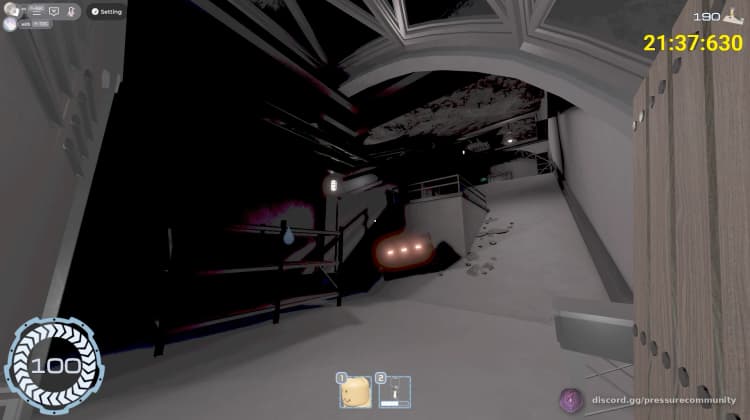
4 ›Nothing Noteworthy simply an upwards ramp with a slight protrusion to hold a locker
 6 ›
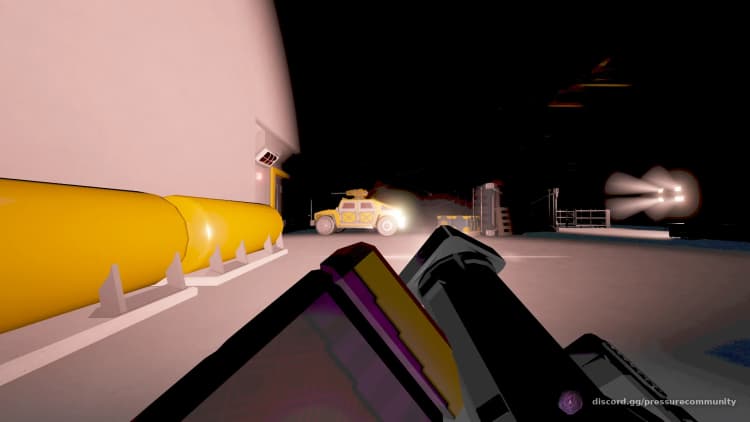
6 ›A large cargo hold like area with shipping containers scattered around. Room is guarenteed to be locked. Room can also have a speaker at the end of the room so make sure to be careful. PSS and SS in 5th & 6th images as a car will hide you from being spotted by Pandemonium.
 6 ›
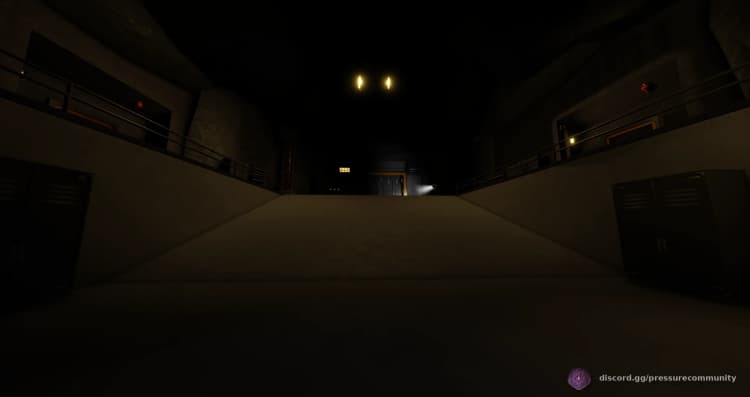
6 ›The end of The Ridge. All entities will despawn in the middle of the ramp, so inside the airlock is PSS/SS. Front Anglers will always come out of the left door and then go down the ramp. To progress you must go inside the airlock and pull the lever, once you do if you have completed the challenges "We Didn’t Playtest To Make Sure This Was Possible," "Glutton For Punishment" and "We Die In The Dark," then the badges of the completed challenges will be awarded to you, and then the airlock will open leading to SearchlightsEnding, being the Searchlights Ending Encounter.
 5 ›
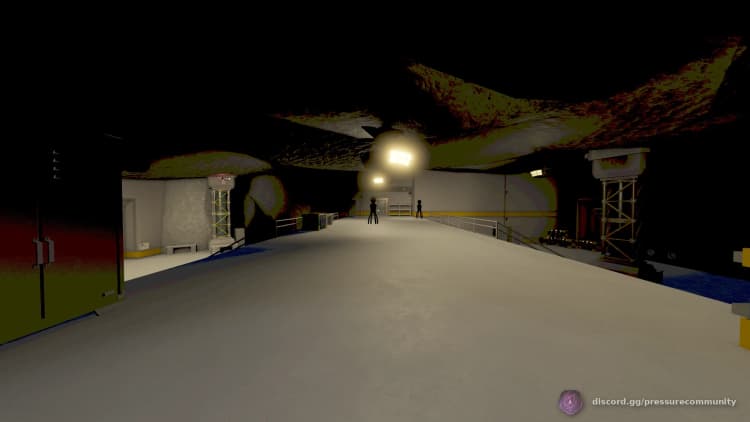
5 ›A straight ridge room with stairs leading down to an underpass. This room is guarenteed to be locked. And also is guarenteed to have speakers on each side of the room. A PSS and SS is down the stairs and below the overpass. (image 5)
 5 ›
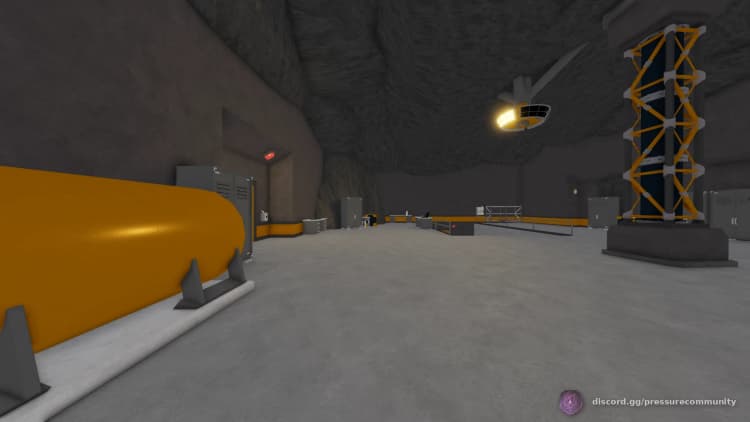
5 ›A large room with a ramp leading down to the door. PSS can be done by hugging the side of the big shelf in the corner of the room. (Images 5 & 6)
 4 ›
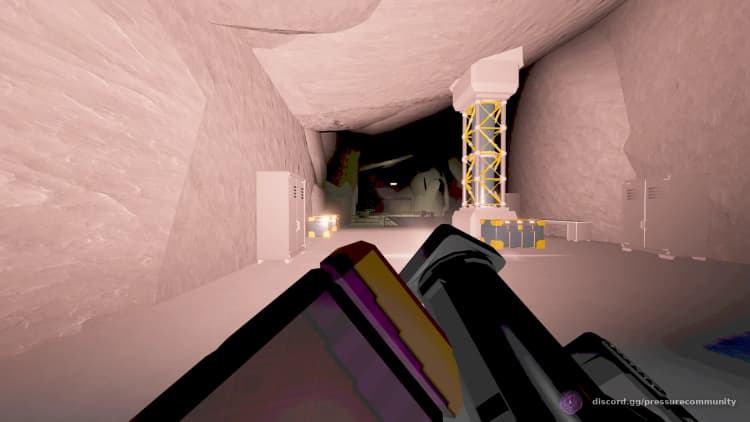
4 ›A large room containing sebastians dock, the room that has sebastians dock requires a code breacher but opposite the entrance to his dock is a side room that has no door, this side room is a PSS without having to waste a breacher on the dock door.
 6 ›
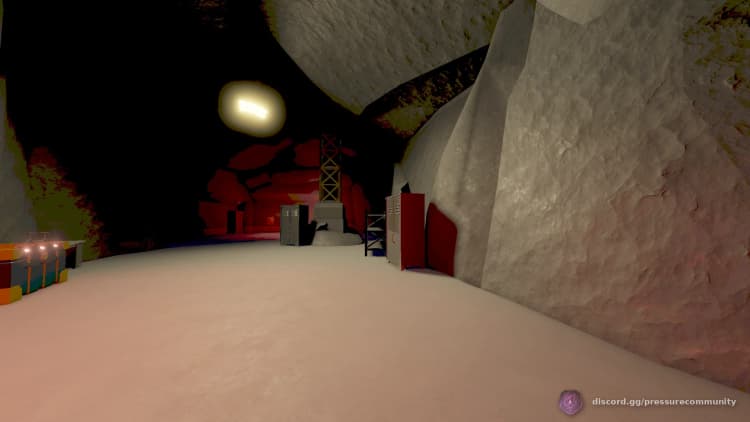
6 ›Short straight room with guaranteed Wall Dweller. PSS is shown on 5th and 6th screenshot, low avatar width is needed.
 4 ›
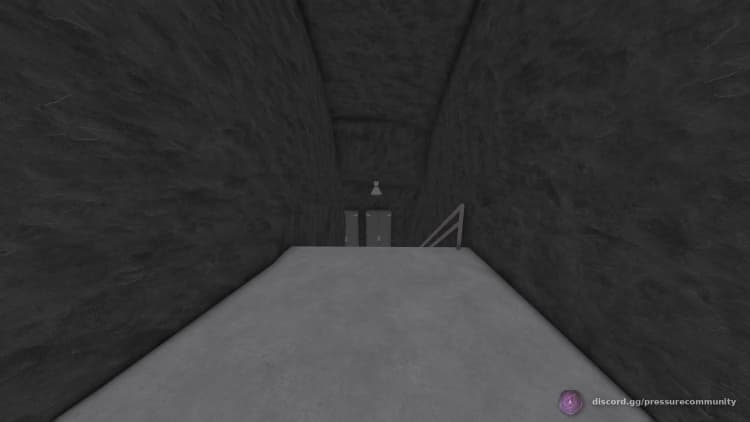
4 ›A short room with staircases leading down to the door with rocks all around. There are lockers but no PSS's or SS's
 5 ›
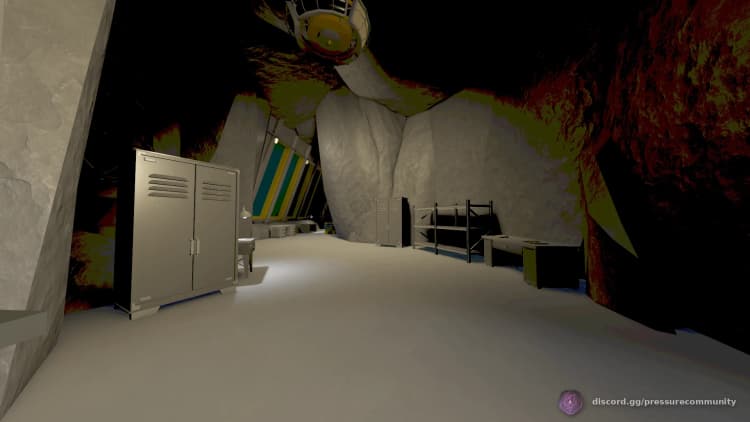
5 ›A room with a spacious opening before becoming narrowed by stone, the area you pass by is a large window and can have eyefestation appear. SS is shown on 4th screenshot, climb the rocks by walking backwards and looking down. PSS is shown on 5th and 6th screenshots, crouch and look down, make sure your avatar width is low enough, so you will be able to squeeze between the rocks and the locker. Also with 70% width you can hide behind the table at the exit room next to a shelf, crouch and look away from wall, it is SS. [Untested PSS, open the drawer, crouch and look down at the wall]
 6 ›
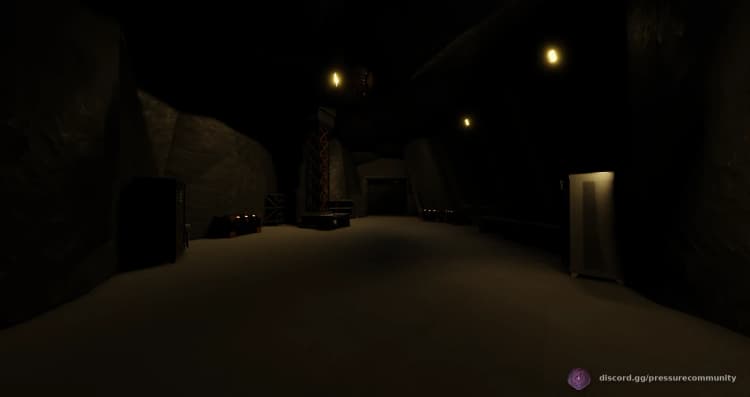
6 ›A medium sized ridge room with a large window that can inhabit eyefestation. SS is shown on 2nd screenshot (behind the shelf). PSS is shown on 5th and 6th screenshots, crouch and look down (low avatar width is needed).
 4 ›
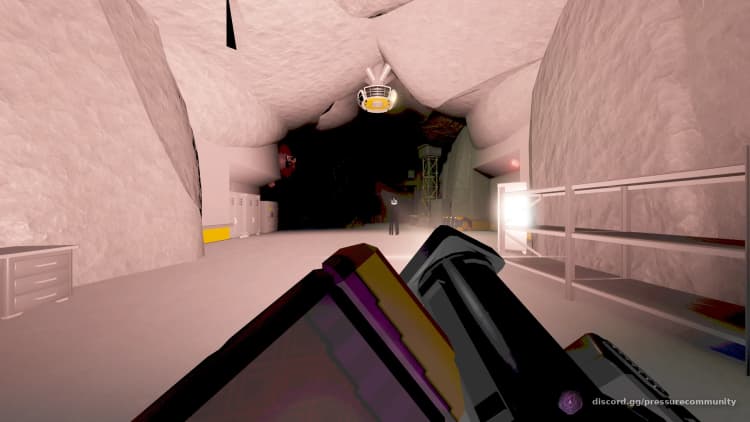
4 ›A large straight room which can be kept with a speaker, a sideroom is also on the right you can use it for PSS and SS away from the door.
 4 ›
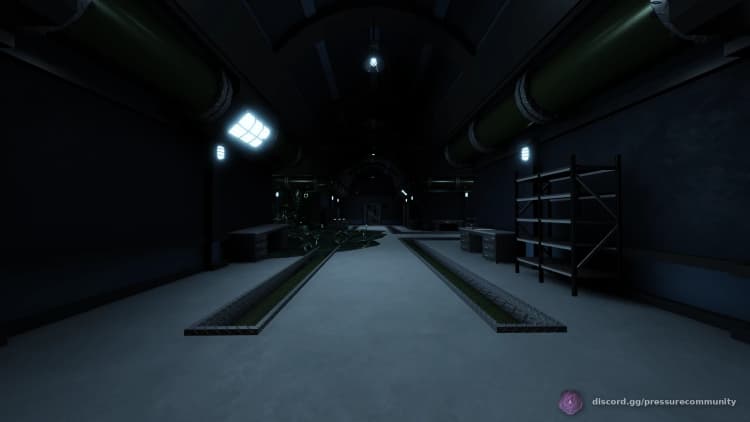
4 ›A 4 way with rotten coral on the left side. The door has a chance to either be straight or a right turn, PSS and SS's are pointed to in various images.
 10 ›
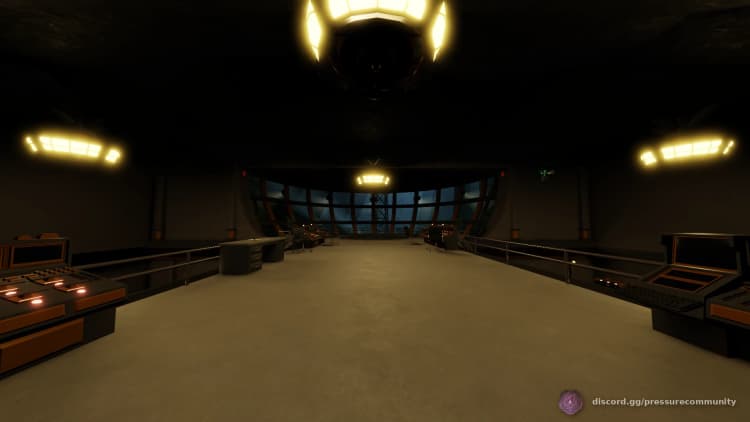
10 ›The very last "room" of the game that comes right after RidgeEnd, being the Searchlights Ending Encounter. Upon entrance HQ will tell you to grab the communication mask, it is completely optional as not doing so will only prevent HQ from being able to communicate with you through the encounter, but main goals will still be highlight as the encounter progresses. Go down the stairs, get into the Airlock and pull the lever to begin. The encounter's main goal is almost the same as the Searchlights Grand Encounter, you must repair 7 generators, the number of generators needed to be fixed goes up by 5 with every player in the lobby, and caps at 41 generators. Unlike the Searchlights Grand Encounter, the encounter now has a lot more complex terrain, there are now steam pipes that will damage you if you pass through the steam, and has a continuation after fixing all generators. About every 1/3 of the total generators fixed another Searchlights will appear, first one always spawns above the cave, second one above the Final Swim arena, and the last one at the skull in the corner of the map. Most of the safe spots are highlighted with green smoke, they can be container, cave, a room, or a skull. You may also swim at about Searchlights level, but swim up too much and you will have to deal with parasites, to prevent that use the Final Swim entrance roof as your guidance on how much you can swim up, do not go above the roof. After finishing all generators, you must head to the center of the map which will then be highlighted with a large yellow beacon by the HQ, and you must pull the router to then activate the cannons and open the gate to the Final Swim. The Final Swim entrance will be highlighted by another yellow beacon, there you must swim through and pull 4 levers as the Searchlights circle around the arena, safe spots are obvious. After pulling the last lever, swim to the right side inside the opened entrance and then you will see how Lucy crushes one of the Searchlights, signifying that you have "won the game." Swim past Lucy, enter the Airlock, pull the lever and head to the right door to the dock #235 where the submarine will arrive and end the game once you press the "Leave Blacksite" button in the submarine.
 5 ›
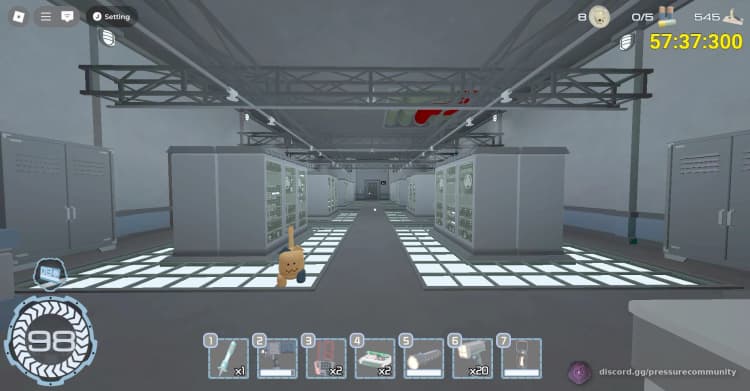
5 ›Long straight room. Always locked, 1 keycard. PSS are in siderooms and behind servers.